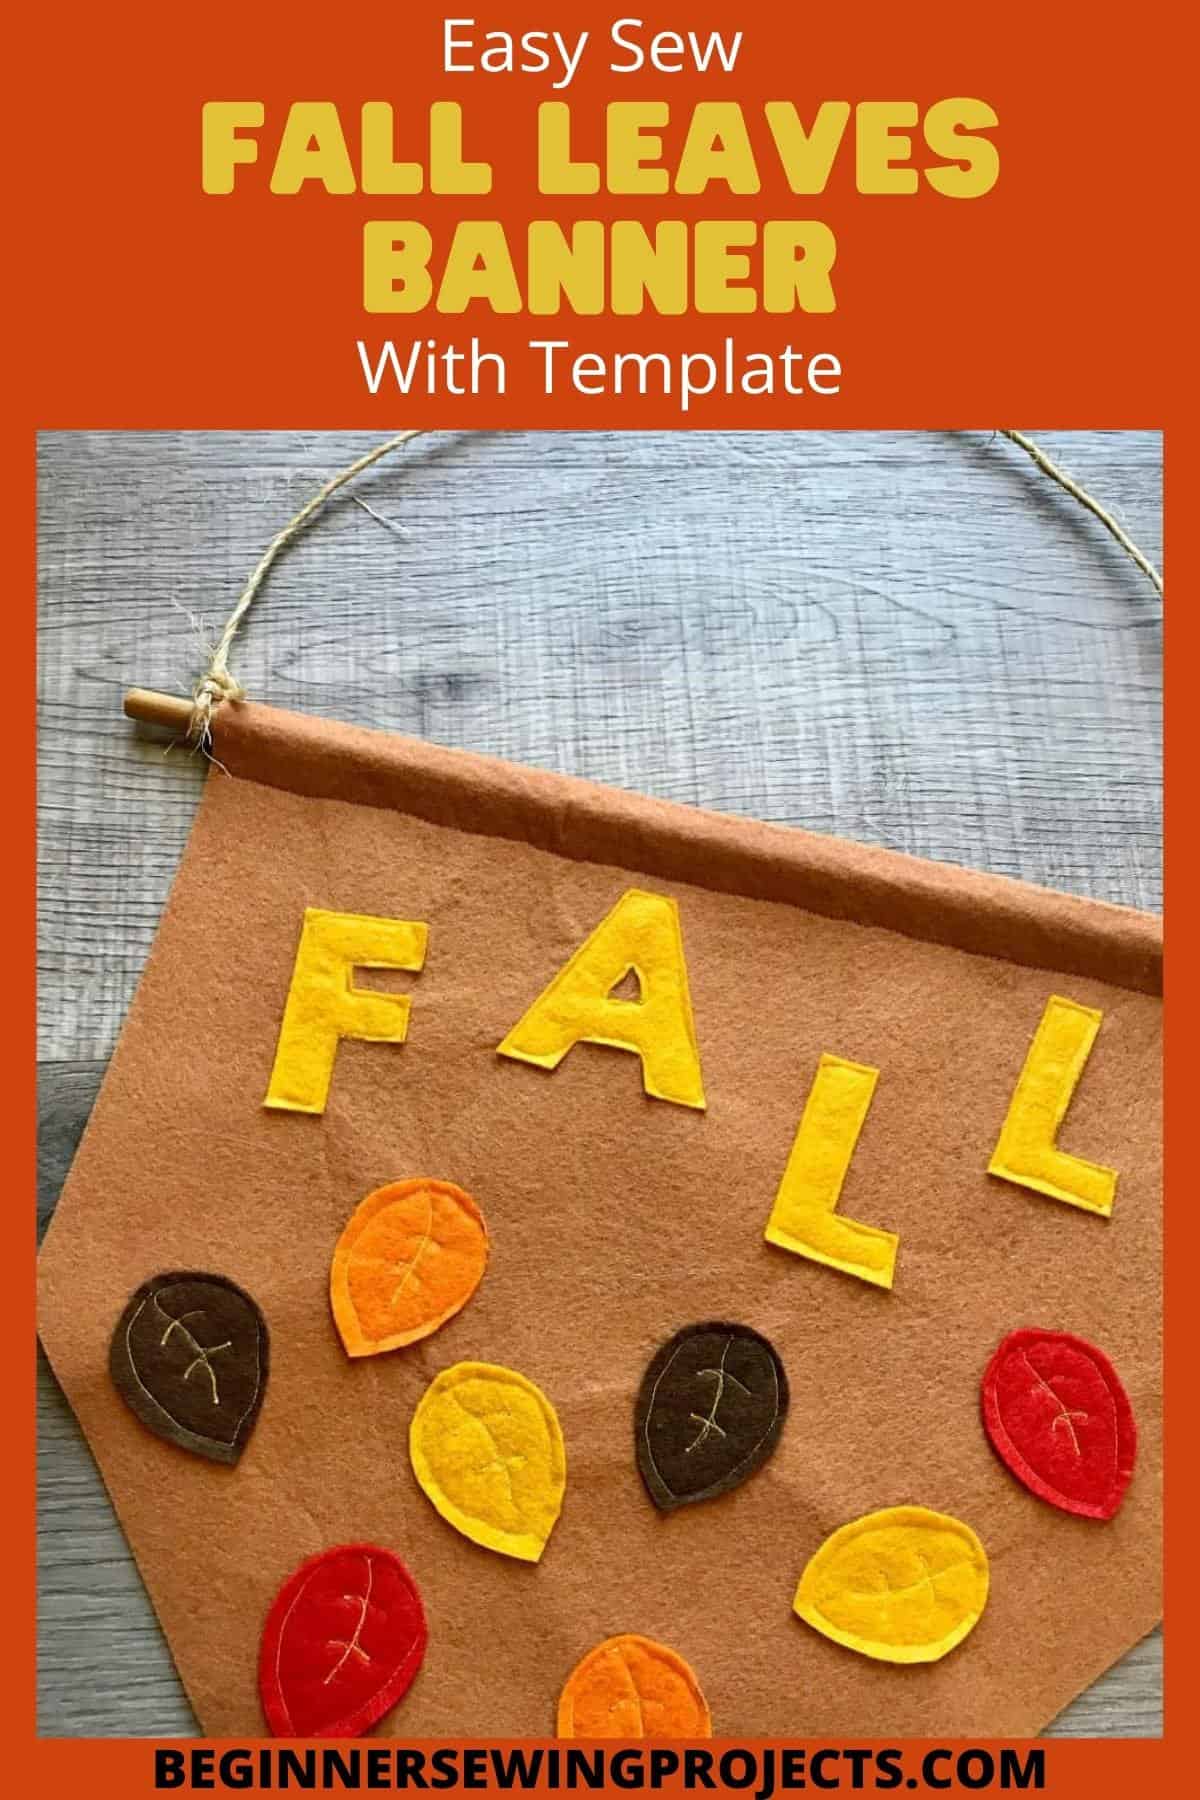
Falling leaves are a sure sign of changing seasons. Today on Beginner Sewing Projects, we are going to show you how to make this Fall Leaves Banner with Free Template! Use our free, printable template to create a fall leaves banner for your space. All of our easy felt crafts are made with – you guessed it – felt! The material is widely available and affordable, so you don’t have to be afraid to try a new project or technique. This fall leaves banner uses free-motion sewing to stitch the leaves and letters onto the banner background. If you have never tried free-motion sewing, this is a great way to give it a whirl with minimal risk.

Free motion simply means the feed dogs on your sewing machine are in the down position, so the fabric (or felt) can be moved in any direction. Don’t let it intimate you!
Supplies

You will need one full sheet of 12″ x 12″ felt for the banner background. Then choose a variety of felt colors for the letters and leaves. Scraps will work just fine. Let’s get started!
Tutorial
Step 1 – Download Template
Begin by downloading the template below. Then print it out on your home computer.
Step 2 – Create Banner Background

Fold down one side of your background felt by 1″ all the way across and pin it in place.
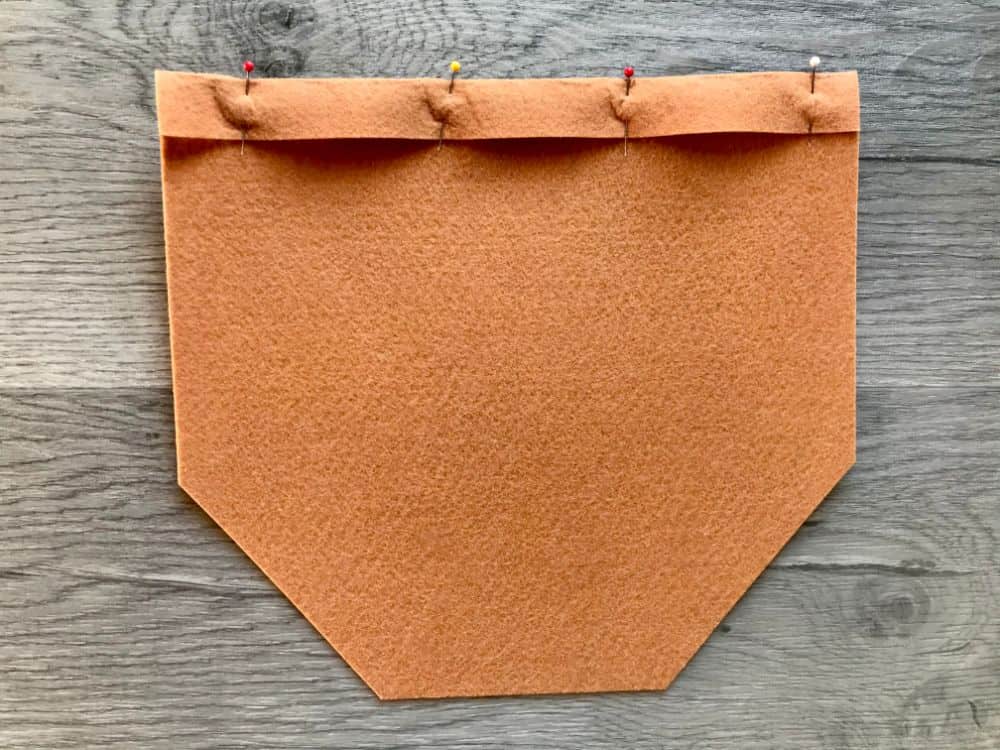
Measure 3″ in from each of the bottom corners, and 3″ up each side. Cut from point to point to form the bottom of the banner.
Step 3 – Cut Out Template

Next, cut out the paper template, and trace it onto various fall colored felt. Then carefully cut out the felt pieces.
Arrange the felt pieces on the background as desired, and pin each piece in place.
Step 4 – Sew Felt

Using a free motion foot for your sewing machine, stitch around each felt piece. If this is your first time trying free-motion sewing, just remember it’s only felt. You can always try again for the cost of pennies.

You can get creative and stitch designs inside or outside each felt piece. This project can be as simple or involved as you choose.
Step 5 – Assemble Background

Sew along the bottom portion of the background where it is folded over to form a casing as well. This can be down with a regular presser foot or a free motion foot.

Insert a dowel into the casing that extends at least 1″ past each edge of the banner.
Step 6 – Hang the Banner

Cut the twine to your desired length for hanging. Then tie it around each end of the dowel.
You made a fall leaves banner! Hang your creation to add a touch of the season to your space.
Don’t forget to pin this project for later, and check out some more fun sewing projects made with felt listed below.

Fall Leaves Banner with Template

How to make a fall leaves banner out of felt.
Instructions
- Download and print template.
- Cut out template.
- Trace template onto felt.
- Cut out felt pieces. Set aside.
- Turn one side of background felt sheet under 1" and pin.
- Mark 3" from bottom corners on both sides.
- Connect marks and cut to form banner shape.
- Lay out felt pieces on background as desired.
- Pin in place.
- Sew around each felt piece with free motion foot.
- Sew across bottom of turned down background to form casing.
- Insert dowel through casing. Trim as desired.
- Tie ribbon to each end of dowel.
- Hang banner and enjoy.
Notes
Use any felt colors you'd like to customize your banner.
Recommended Products
As an Amazon Associate and member of other affiliate programs, I earn from qualifying purchases.
-
 Grabbit Magnetic Sewing Pincushion with 50 Plastic Head Pins, Lime Green
 -
SINGER 00220 Sewing Gauge, 6-Inch
-
Wooden Dowel Rods - 3/8" x 36" Unfinished Hardwood Sticks - For Crafts and DIY'ers - Craftparts Direct - Bag of 25
-
LaRibbons Solid Color Satin Ribbon Asst. #2-10 Colors 3/8" X 5 Yard Each Total 50 Yds Per Package
-
3-PACK - Aurifil 50WT - White + Dove + Light Beige, Solid - Mako Cotton Thread - 1422Yds EACH
-
flic-flac 48PCS 12 x 12 inches (30 x 30cm) Assorted Color Felt Fabric Sheets Patchwork Sewing DIY Craft 1mm Thick … (30cm 30cm, 48pcs)