Halloween pencil toppers in the shape of not-so-scary bats will last much longer than candy. Made with felt, they are inexpensive and easy to stitch for little hands.
These would be so fun for a classroom or teacher gift. How about a Halloween themed birthday party? Or just make one for yourself.

The instructions below include a free template to download and photos for every step of the process. All the supplies are linked for easy ordering too.
Ready to get started?
Supplies

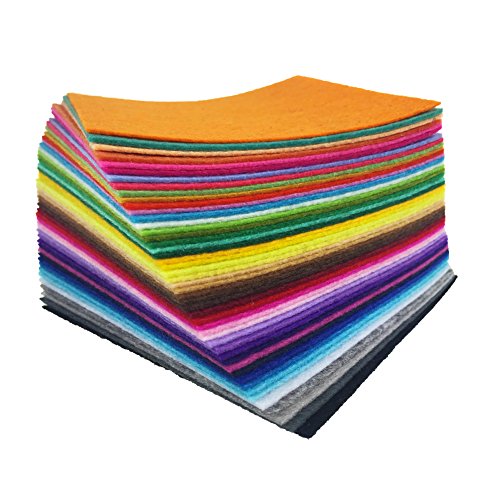
Go ahead and get a pack of colored felt. The same is true for embroidery floss. They are inexpensive, and you are going to want the extra supplies to make some other fun felt crafts like these later.
Free Pattern Download
Click the ‘Download’ button below to access the free pattern. Then print it on your home printer.
DIY Tutorial
Step 1 – Cut Out Template
The template includes two sizes for the bats. Choose which size you would like to make, and cut them out with craft scissors (not fabric shears!).
Step 2 – Cut Out Felt
Then trace each pattern piece with a pencil onto felt in the color of your choice. Black is the obvious color, but feel free to get creative.

Cut out the traced pattern pieces.
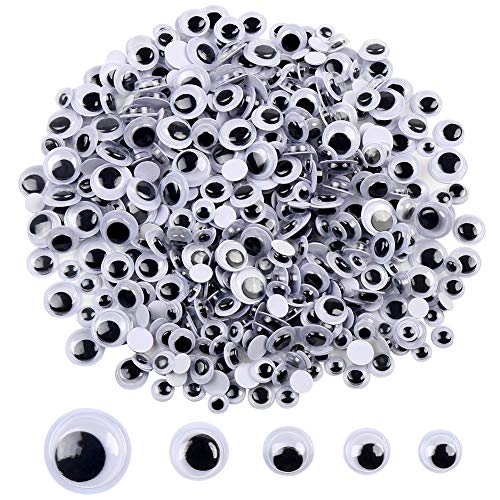
For the eyes, you can use the small felt circles included in the template, or glue on googley eyes with craft glue.

Step 3 – Stitch Eyes on Head
Now it is time to sew. Go ahead and stitch the eyes onto the front of the head if you are using felt. You can stack the circles and stitch in the center, or sew all the way around each circle.

Step 4 – Stitch Mouth
Next, use black thread to stitch a smiling mouth below the eyes.

Step 5 – Assemble Bat
Now stack the bat’s body with a face on top of the back body piece with wings.
Step 6 – Sew Body
Beginning beneath a wing, sew the two felt pieces together with a blanket stitch.

Continue stitching around the perimeter, but leave enough space for a pencil to be inserted at the bottom.
Tie a knot to secure, cut off any excess thread.

Step 7 – Insert Pencil
Insert a pencil through the opening to display your creation!
If you are making multiple bats for friends or a class, you can purchase black pencils in bulk.

Don’t forget to pin this project for later, and check out some more fun projects to make with felt listed below.

Bat Pencil Topper Halloween Felt Craft

How to make a not-so-scary bat pencil topper for Halloween. It's a great first sewing project for kids!
Materials
Instructions
- Download and print the free template included in the original post.
- Cut out paper template pieces.
- Trace templates on felt colors of choice with a pencil.
- Cut out felt pieces.
- Sew eyes onto top body piece (or glue on googley eyes).
- Stitch a smile under eyes.
- Stack body on top of felt piece with wings.
- Using a blanket stitch, sew around the perimeter. Start beneath one wing and end beneath the other, leaving an opening at the bottom.
- Insert pencil top through bottom of felt bat.
Notes
Bats are black, but yours don't have to be! Get creative with your felt colors.
Recommended Products
As an Amazon Associate and member of other affiliate programs, I earn from qualifying purchases.
-
SINGER 00276 Assorted Hand Needles in Compact, 25-Count
-
SINGER 00557 4-1/2-Inch ProSeries Detail Scissors with Nano Tip, Teal
-
ezpencils - Black Barrel Hexagon Pencils with Black Eraser and Black Ferrule - 36 pkg - Non-Smudge Eraser - # 2 HB Lead - Unsharpened - Non-Branded
-
DECORA 500 Pieces 6mm -12mm Black Wiggle Googly Eyes with Self-Adhesive
-
Caydo Embroidery Floss 50 Skeins Friendship Bracelets Floss Rainbow Color Embroidery Thread Cross Stitch Floss with 12 Pieces Floss Bobbins
-
flic-flac 48PCS 8 x 12 inches (20 x 30cm) Assorted Color Felt Fabric Sheets Patchwork Sewing DIY Craft 1mm Thick … (20cm 30cm, 48pcs)


