Traditional water balloons take time to fill, leave a mess in the yard, and can only be used once. Make your own reusable water balloons that don’t require filling or cleaning up and produce zero waste. Today on Beginner Sewing Projects, we show you how to make these DIY Water Balloons! They’re reusable and designed to hold a ton of water to achieve the maximum soak factor. Kids and adults both love them! These eco-friendly water balloons are made with old towels or washcloths. The terry cloth absorbs water to make the balloons extra wet for throwing. The water balloons are stuffed with Poly-fil from Fairfield World. Poly-fil is a premium polyester fiberfill that won’t bunch, and it’s washable! Just toss the dirty, used water balloons in the laundry after play.

These sustainable water balloons are such a great alternatives to the messy disposable ones.In the past whenever my kids would have a water balloon fight, I would be finding pieces of balloon in my yard for. weeks afterward. This simple sewing project has saved me much headache in setup and cleanup! No more spending 30 minutes filling up 10 water balloons!

Supplies

All the supplies needed (except your sewing machine) are linked for your convenience. If you don’t have any old towels laying around to use, grab some new ones.
Tutorial
Begin by downloading the free template linked below.
Then print the downloaded file on your computer, and cut it out.
Step 1 – Cut Out Pattern Pieces
Trace the pattern pieces onto your wash cloth or towel and cut them out. You will need two matching pieces for each water balloon. The template offers a small and large option.
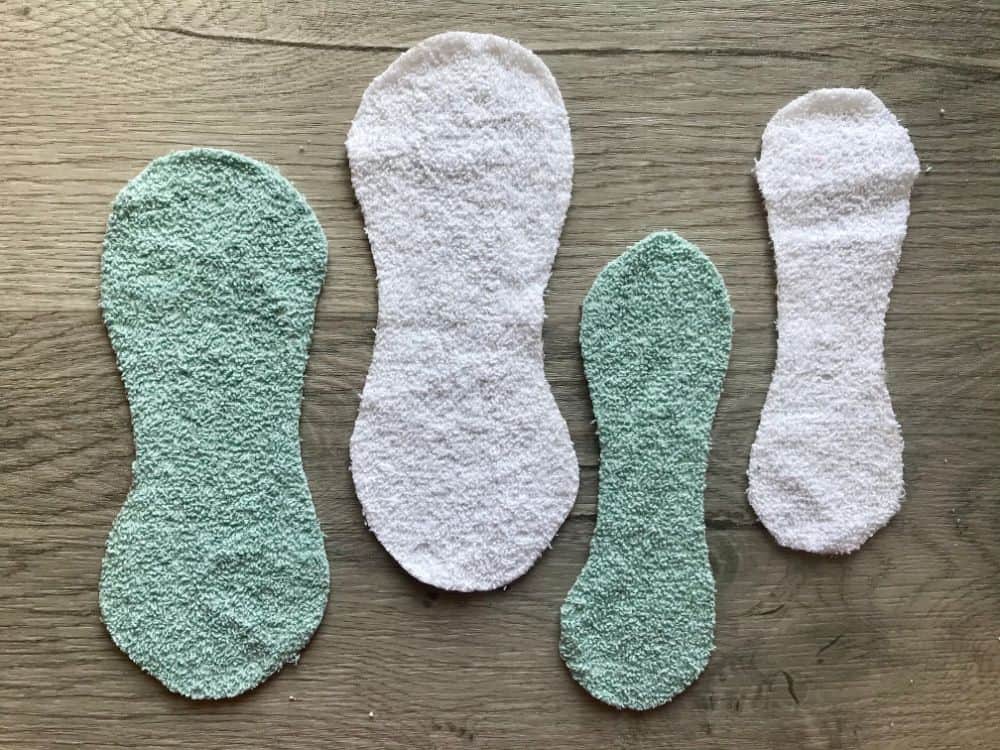
Use the same color for each piece or mix and match to make the balls more colorful.
Step 2 – Line Up the Pieces
Lay one of your cut out pieces perpendicular to another, overlapping in the center. Align the right side of the top piece with the right center of the bottom piece. (See photo for clarification.)
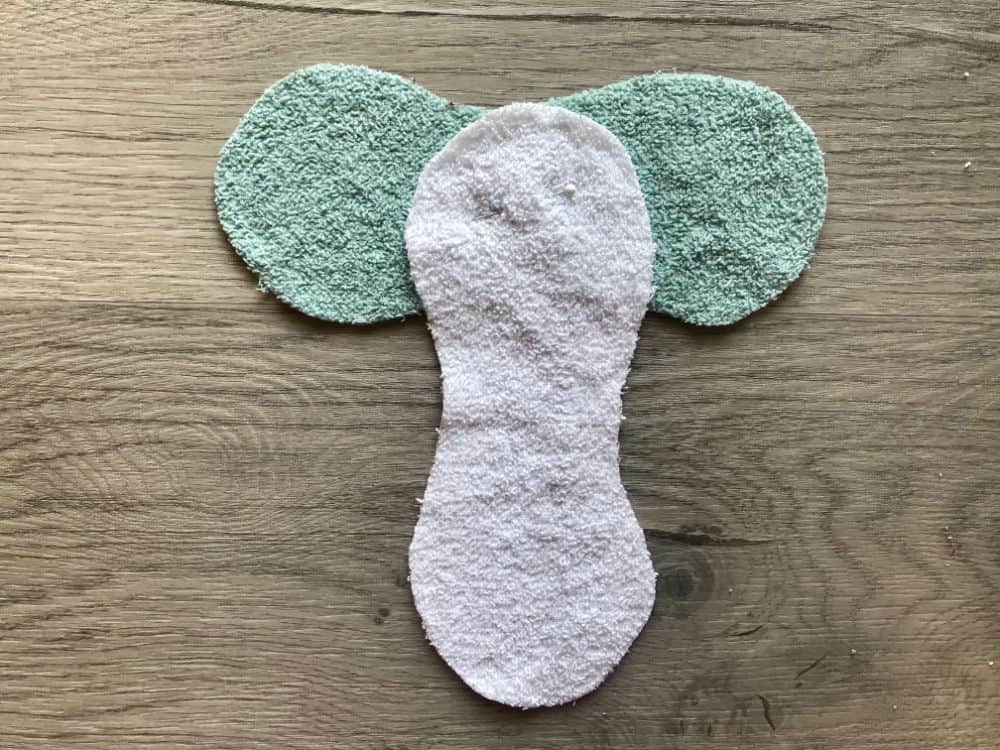
If you are not using terry cloth and your fabric has a wrong side and a right side, make sure you place the pieces with right sides together in this step.
Pin to hold.
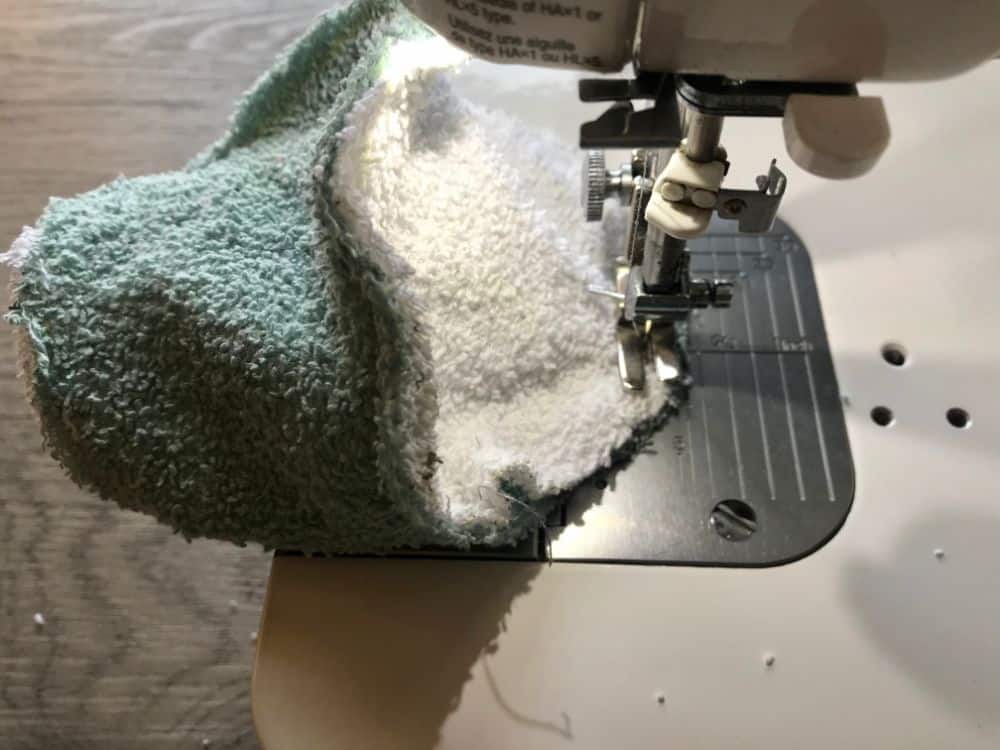
Step 3 – Sew
Begin sewing where the two pieces meet at the right edge with a 1/4″ seam allowance.

Continue sewing along the edge while re-aligning the pieces as you go. Curves can be tricky, so go slow, especially if you are a beginner.

The ball shape will start to form as you continue this process. Stop sewing 2″ from where you started.
Step 4 – Turn
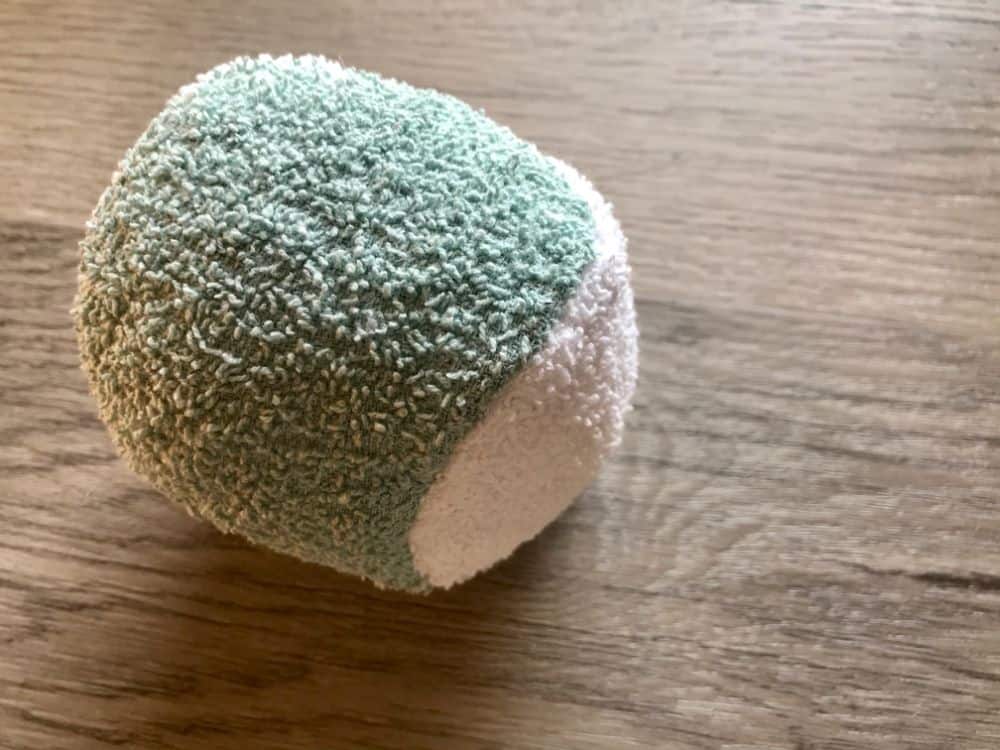
Turn the ball right side out. Gently press the seams out with your fingers or a turning tool.

Step 5 – Stuff
Insert fiber fill through the ball until the desired firmness is achieved. Less firm balls will hold more water. They are also easier for small hands to hold.

Step 6 – Stitch to Close
Prepare a needle and thread. Then hand stitch the opening closed. A ladder stitch will be invisible, but a whip stitch is the fastest and easiest stitch to get the job done. Water balloons don’t necessarily have to be pretty – just fun!

For instructions on how to make the stitches, check out our guide to Sew Common Hand Stitches by Hand. This is a great opportunity to get older kids involved in the project.

Step 7 – Use and Care
To use the water balloons, dunk them in a bowl or bucket of water. Then toss them at your family friends. Return balloons to the water to refill for hours of fun.

If they aren’t too dirty, the balloons can air dry to be ready for the next time you want to play. Dirty balloons can be laundered in the washer and dryer.
Don’t forget to pin this project for later, and check out some more zero waste sewing projects listed below.

This project is part of the Sew a Softie tutorial hop created by Trixi at Sew a Softie to inspire kids and adults all over the world to learn how to sew.
DIY Water Balloons

How to make eco-friendly, zero waste water balloons.
Materials
Instructions
- Download and print template
- Cut out template
- Trace template onto terry cloth (2 per ball)
- Cut out terry cloth pieces
- Align pieces one on top of the other with top right edge meeting center right of bottom piece (right sides together)
- Sew with 1/4" seam allowance matching edges as you go
- Leave 2" gap
- Turn ball right side out
- Stuff with fiber fill
- Ladder stitch or whip stitch to close
Notes
Use any towels you have on hand to make this project more sustainable.
Recommended Products
As an Amazon Associate and member of other affiliate programs, I earn from qualifying purchases.
-
 Fairfield Poly Fil Premium Fiber Fill, 32-Ounce
 -
Coats & Clark All Purpose Thread 400 Yards White (ONE spool of yarn)
-
SINGER 00276 Assorted Hand Needles in Compact, 25-Count,Assorted 25/Pkg
-
Grabbit Magnetic Sewing Pincushion with 50 Plastic Head Pins, Lime Green
-
LIVINGO 8" Professional Heavy Duty Tailor Fabric Scissors, Dressmaker Sewing Classic Stainless Steel Ultra Sharp Forged Shears, Bent
-
Simpli-Magic 79148 Cotton Washcloths, 60 Pack, Taupe/Turquoise/Lime/Powder Blue/Raspberry 60 Pack