We have a fun take on a simple sewing project for you today. Protect your table and make some beautiful decor at the same time. Today on Beginner Sewing Projects, I am going to show you How To Make Placemats With Pockets! This process is slightly different then how I showed you to make these reversible placemats. If you like to decorate for any holiday, these placemats are a great addition to your decor. Plus, this is a great beginner sewing project and really great for kids to learn how to sew. And the best part is they can be used for two holidays or seasons because they are reversible. I really like the unique look of the pockets while being functional. Placemats are a must for protecting your table from stains, spills, coloring, and all the other things at your table can endure. I have always loved the look of placemats, especially when they are used to either accent your decor or add a splash of color. Pick out some fun fabric for yours that fits the style you want. My kids helped me make these and I had so much fun doing it with them. Since you are just sewing some straight lines, this is a simple project for them to help. They love using the pedal for the sewing machine.

The other benefit is the pocket so kids know where to place the utensils when they set the table. You’ll only need a few basic items for this project. You’ll need some fun fabric, some thread, scissors or a rotary cutter, some interfacing or stabilizer, plus your sewing machine. Gather up your supplies from the list below and let’s get started!

What You’ll Need:

- 1 yard Fabric (1/2 yard of each fabric if you are using two)
- 14″ x 20″ for each side of a placemat (multiply that by how many placemats you need to make)
- 5″ x 10″ for each pocket (multiply that by how many placemats you need to make)
- Ribbon or Ric Rac (optional) 6″ in length for each pocket
- Interfacing
- Coordinating Thread
- Sewing Clips
- Rotary Cutter and Cutting Mat Set
- Iron
- Ironing Board
- Sewing Machine
How To Make Placemats With Pockets
Wash and cut fabric
Wash and iron your fabric. This will preshrink your fabric before you make your project. If you don’t prewash your fabric, it will become distorted if you wash it after making it. For each placemat, you need 2 pieces of fabric cut to the size of 14″ x 20″. This is your main fabric for the placemats. Then, for the pockets, you need each pocket to be cut 5″ x 10″. If you are using ribbon or ricrac for the pockets, cut this to 6″ in length for each pocket. If you choose, you could also stabilize these with interfacing or quilting if you like. I will not be doing that today.

Step 1. Make the pockets
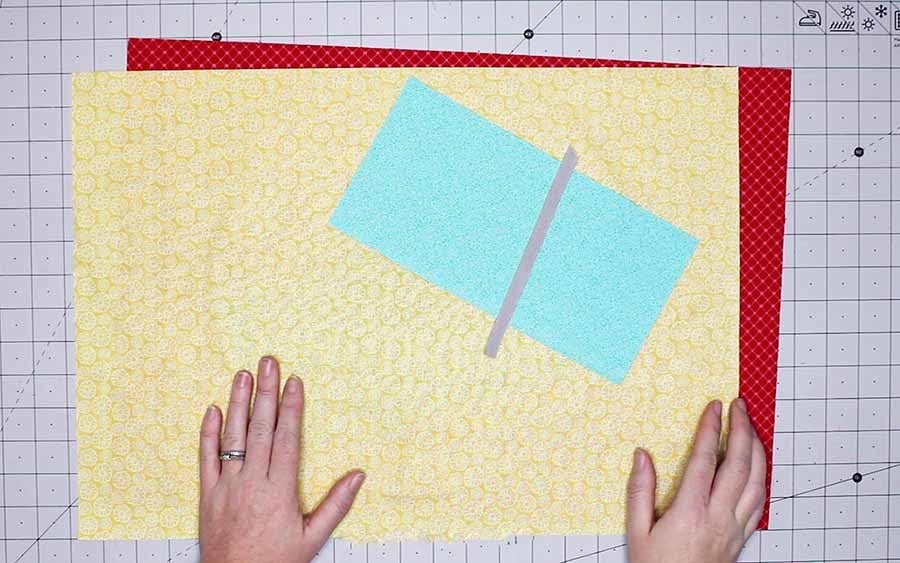
The first step in this how to make placemats with pockets sewing tutorial is to cut out your fabric. Once you have cut them according to the specifications above, take your pocket pieces and fold them in half, wrong sides together. Mark the middle at the fold and place your ribbon or ricrac 1 inch down from the fold on one side of the pocket.


Unfold the pocket and sew the ribbon or ricrac in place.

Fold the pocket in half, right sides together and sew around the open edges of the pocket, leaving an opening to turn right side out. Sew using a 1/4″ seam allowance.

Trim the corners of the pockets and turn right side out.

Fold the opening into the pocket and press the pocket flat. Repeat with the pocket for the other side. Now your pockets are complete.

Step 2. Sew pockets to the placemat
Next on this how to make placemats with pockets sewing tutorial, we will add the pockets to the placemats. Place the pockets on the fabric pieces for the placemats. Using a ruler, place the lower-left corner of the pocket 1.5″ from the left edge and 2.5″ up from the bottom edge.

Pin the pocket in place and sew around the three edges of the pocket, leaving the top open.
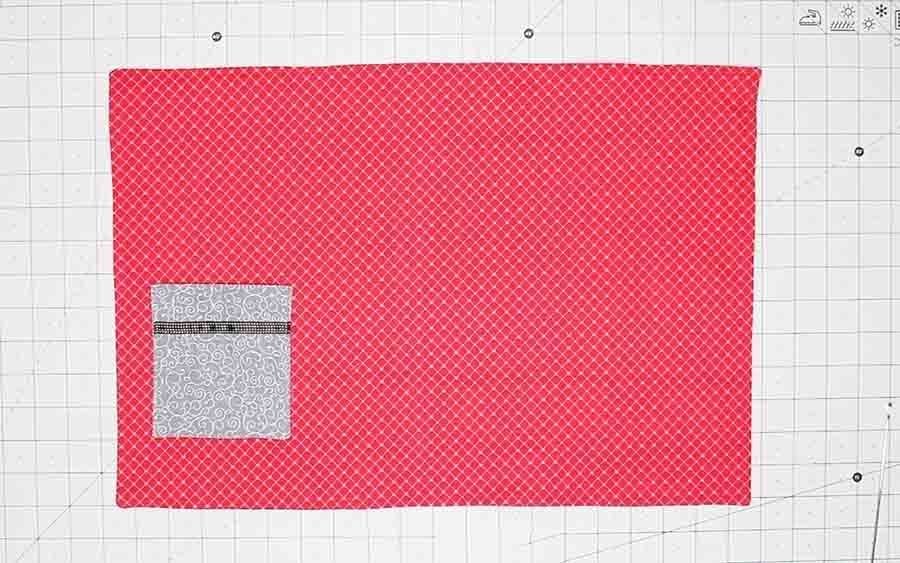
Sew about 1/8″ from the edge of the pocket. Repeat with the other side of the placemat.

Step 3. Sew placemat
Place the fabric pieces of the placemats right sides facing together. Make sure both pockets are facing upright.

Sew around all the edges of the placemat with a 1/4″ seam allowance, leaving 4″ open for turning.

Trim the corners of the placemat and turn right side out. I use a bodkin tool to get nice poked-out corners. Press with an iron, making sure the opening is pressed with the fabric turned inwards.

The last step on this how to make placemats with pockets sewing tutorial is to topstitch around the whole placemat a little less than 1/4″ away from the edge of the placemat. Now repeat for all your other placemats. I love how quick and simple these are. This is a great project for beginners and kids.

If you liked learning how to make placemats with pockets, make sure to pin it to your favorite Pinterest board or share it with friends on social media. If you decide to make this simple project on your own, make certain that you take a picture afterward and tag us on social media as we love seeing the fabrics and color choices that people use!
How To Make Placemats With Pockets

Protect your table with these functional placemats with pockets! They are so nice and easy to make!
Materials
Instructions
- Cut out fabric. For each placemat, you need 2 pieces of fabric cut to the size of 14″ x 20″. This is your main fabric for the placemats. Then, for the pockets, you need each pocket to be cut 5″ x 10″. If you are using ribbon or ricrac for the pockets, cut this to 6″ in length for each pocket.
- Cut interfacing to 14"x 20".
- Take pocket piece & fold in half wrong sides together.
- Mark middle & place ribbon 1" down from fold on one side of the pocket.
- Unfold the pocket and sew the ribbon or ricrac in place.
- Fold the pocket in half, right sides together, and sew around the open edges of the pocket, leaving an opening to turn right side out.
- Trim the corners of the pockets and turn right side out.
- Fold the opening into the pocket and press the pocket flat. Repeat with the pocket for the other side
- Using a ruler, place the lower-left corner of the pocket 1.5″ from the left edge of the place mat piece and 2.5″ up from the bottom edge.
- Pin the pocket in place and sew around the three edges of the pocket, leaving the top open. Sew about 1/8″ from the edge of the pocket. Repeat with the other side of the placemat.
- Place the fabric pieces of the placemats right sides facing together. Make sure both pockets are facing upright.
- Sew around all the edges of the placemat with a 1/4″ seam allowance, leaving 4″ open for turning.
- Trim the corners of the placemat and turn right side out. I use a bodkin tool to get nice poked-out corners.
- Sew opening closed and enjoy!
Recommended Products
As an Amazon Associate and member of other affiliate programs, I earn from qualifying purchases.
-
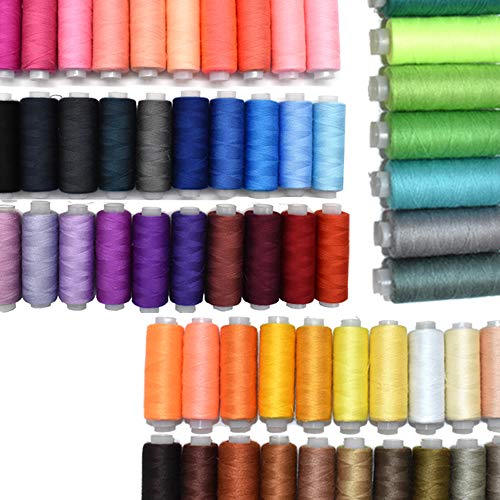
 Sewing Thread 60 Colors Sewing Industrial Machine and Hand Stitching Cotton Sewing Thread (60 Color)
 -
Brother XM2701 Sewing Machine, Lightweight, Full Featured, 27 Stitches, 6 Included Feet
-
Fiskars Crafts 95237097J Rotary Sewing Cutting Set (3 Piece), Grey
-
LIVINGO Premium Tailor Scissors Heavy Duty Multi-Purpose Titanium Coating Forged Stainless Steel Sewing Fabric Leather Dressmaking Softgrip Shears Professional Crafting (9.5 INCH)