Do you love giving gifts? We have a project you’re going to love! Today I’m going to show you How To Make Drawstring Gift Bags! These drawstring gift bags are very simple to make and so cute! Handmade gift bags are a wonderful way to class up any gift. You can personalize them easily. Depending on the size you make you don’t need much fabric so you could make some of these to get rid of some of your fabric scrap pile. I love how these turned out. It’s a fun and different way to wrap gifts, and once you make a supply of them, wrapping gifts just takes a few seconds. I have a whole stash of gift bags and it has saved me a trip to the store more than once. Usually, it’s my kids who ask me for one right as we are getting ready to head to a birthday party. These gift bags will save you money over store-bought bags and you can use them for other things besides gifts. I’ve made some of these into decorations for different holidays throughout the year. One thing is for sure, these gift bags are much better than the cheap plastic and paper ones you buy in the party aisle of your local big-box store.

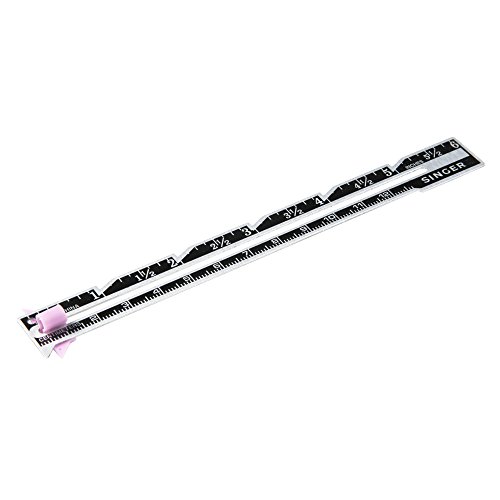
You’ll only need a few sewing supplies for this project. We already talked about fabric. I just used some leftover cotton scraps I had that were big enough for my bags. You can also use fat quarters. You’ll need some ribbon to use to close your gift bag. I went with a 3/8″ piece. If you want to use a larger or smaller size, just adjust the channel you sew accordingly. You’ll need some basics like a sewing machine, thread, and fabric scissors. I recommend investing in a rotary cutter and mat. The set I linked below also includes a ruler at a great price. If you are wanting to get into sewing long-term, a rotary cutter is the way to go as it is much faster and easier to get precise cuts. You’ll also need a fabric marker, a pencil or turning tool, and an iron to press your fabric. Are you ready to make your own? Let’s get started!

What You’ll Need:

- Two pieces of fabric that measure 8″ x 18″
- 2 pieces of 3/8″ wide ribbon or yarn, 23″ long each
- Matching Thread
- Sewing Clips
- Fabric Marker
- Turning tool
- Sewing Machine
- Iron or heat press
- Thread Clippers
- Scissors
- Rotary Cutter, Cutting Mat, & Ruler
How To Make Drawstring Gift Bags

Step 1. Prepare Fabric
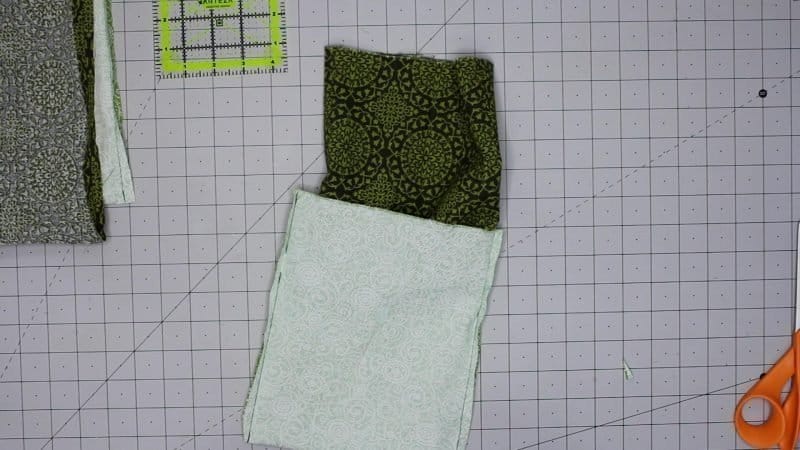
The first step in this how to make drawstring gift bags sewing tutorial is to wash, dry, and iron your fabric. This process acts as a preshrink for your fabric and helps it be nice and soft. Plus, pressing your fabric makes it easier to cut. Once you have prepped your fabric, cut out your fabric pieces to measure 8″ x 18″. One piece is going to be the outside. One piece is going to be the lining. Fat quarters are perfect for this.

Step 2. Sew edges
Fold both pieces in half, right sides together. On your lining, sew all the way down both sides. For the outside piece, on both edges, measure and mark with a fabric pen 2″ from the top. Then again 3/4″ from that 2″ marking. This is the start to making our ribbon casing.

Sew down the sides with a 1/4″ seam allowance, making note of your markings on the outer fabric piece.


Once you are done, press your seams open and trim your corners. This will make it easier to turn in the next step..
Step 3. Make the bag
Next on this how to make drawstring gift bags sewing tutorial, turn your lining right side out, and put it inside of the outer fabric.

Line up your seams and clip around the top.

Head back over to your sewing machine and sew the top using a 1/4″ seam allowance. Make sure to leave a 3″ opening to turn right side out.

Step 4. Make Ribbon Casing
Next, turn the bag right side out and stuff the lining inside the bag.

Turn the opening edges into the bag about a 1/4″, and then press all around the top of the bag.

Topstitch all the way around the top of the bag about an 1/8″ from the top.

Now on this how to make drawstring gift bags sewing tutorial, we will work on the ribbon casing. Mark a line across the whole bag about 1 3/4″ down from the top. Make sure it’s just above the ribbon opening on the side. Mark another line an 1″ below that, or just below the ribbon opening. Repeat on the back side. Sew along this line all the way around the bag.

Step 5. Insert Ribbon
Use a safety pin or a tool like my bodkin tool to feed your ribbon or yarn through the ribbon casing.

Feed it through the hole on one side, all the way around the bag until it comes back out the same hole it goes in.

Then repeat with the second piece of ribbon, but going through the other hole on the other side.

And that’s it! Now you know how to make drawstring gift bags! I think these are so cute. I am so excited to gift this to my mom with her new coffee mug cozy that I just made. She is going to love them! Once you start making them, you’re not gonna want to stop! Fabric gift bags are so much nicer than those cheap paper ones that don’t last. When these get dirty you can just toss them in the wash and they will come out good as new.

If you liked this how to make drawstring gift bags sewing tutorial, make sure to pin it to your favorite Pinterest board or share it with friends on social media. If you decide to make this simple project on your own, be certain that you take a picture afterward and tag us on social media as we love seeing the fabrics and color choices that people use!
How To Make Drawstring Gift Bags

Sew these easy gift bags and class up your next gift!
Materials
Tools
Instructions
- Cut out two fabric pieces to measure 8″ x 18″.
- Fold both pieces in half, right sides together. On your lining, sew all the way down both sides.
- For the outside piece, on both edges, measure and mark with a fabric pen 2″ from the top. Then again 3/4″ from that 2″ marking. This is the start to making our ribbon casing.
- Sew down the sides with a 1/4″ seam allowance, making note of your markings on the outer fabric piece.
- Once you are done, press your seams open and trim your corners. This will make it easier to turn in the next step..
- Next on this how to make drawstring gift bags sewing tutorial, turn your lining right side out, and put it inside of the outer fabric.
- Line up your seams and clip around the top.
- Head back over to your sewing machine and sew the top using a 1/4″ seam allowance. Make sure to leave a 3″ opening to turn right side out.
- Next, turn the bag right side out and stuff the lining inside the bag.
- Turn the opening edges into the bag about a 1/4″, and then press all around the top of the bag.
- Topstitch all the way around the top of the bag about an 1/8″ from the top.
- Mark a line across the whole bag about 1 3/4″ down from the top. Make sure it’s just above the ribbon opening on the side. Mark another line an 1″ below that, or just below the ribbon opening. Repeat on the back side.
- Sew along this line all the way around the bag.
- Use a safety pin or a tool like my bodkin tool to feed your ribbon or yarn through the ribbon casing.
- Feed it through the hole on one side, all the way around the bag until it comes back out the same hole it goes in.
- Then repeat with the second piece of ribbon, but going through the other hole on the other side.
- Enjoy!
Recommended Products
As an Amazon Associate and member of other affiliate programs, I earn from qualifying purchases.