If you have a baby on the way or just need a really great baby gift idea, we have just the thing! We are going to show you How To Make A Nursing Arm Pillow! This is a simple sewing project that is perfect for new and expecting moms. I know as a mom I would have loved this little pillow when I was nursing my first child. This would have made it a much more comfortable experience. The pillow helps cushion the arm and support the baby’s head all while you are nursing or feeding. This sewing project is easy to make and can be made in less than half an hour. I had some extra Minky fabric in my fabric pile and it turned out great. I recommend making a could of these pillows as once you use it, you won’t want to nurse without it! You can just pop it in the wash when you need to clean it. This is the time of year for weddings and baby showers and I am always looking for something useful to give. This pillow would be great for any baby shower. You can make this to match a certain theme you already have or just make it unique as a one-time gift.

Gather up the rest of your supplies from the list below and let’s get started!

What You’ll Need:

- 1/2 Yard Outer Fabric
- 1/2 Yard Inner Fabric
- Stuffing
- Matching Thread
- Scissors
- Rotary Cutter, Cutting Mat, & Ruler
- Washable marker
- Sewing Machine
- Iron or heat press
- Thread Clippers
- Sewing Clips
- Needle
How To Sew A Nursing Arm Pillow

The first step on this how to sew a nursing arm pillow sewing tutorial, you need to cut out your fabric pieces. Cut one piece of each fabric that is 13 inches by 21 inches.

This will be the main and lining piece for your pillow.

Next, lay the two pieces on top of each other with the right sides touching. Then, pin down each of the longest sides. If using Minky fabric as we did be sure to pin well as it tends to slip.

Now it’s time to sew! Using about 1/4 inch seam allowance, sew down each of the pinned sides.

Now on this how to sew a nursing arm pillow, pull it into itself so that it is in half and pin the short side raw edges together. You want to make sure you pull it so the right sides stay touching.

We will leave about a two-three-inch opening on the inner fabric (the white for ours) to use to turn it right side out and to stuff it.

Head back over to the sewing machine and sew all the way around the pinned area using a 1/4 inch seam allowance. We are about halfway through this fun sewing tutorial!

Now on this nursing arm pillow tutorial, turn the pillow right side out through that opening.

Next, take the stuffing and fill the inside of the tube through that opening. You want to make sure the filling is nice and fluffy. Be careful not to overstuff.

Step 8: After you have it filled to your liking, sew the opening shut. Do this with a needle and thread using the ladder stitch.

For the last step in this nursing arm pillow tutorial, turn it into itself so that that stitched area is on the inside where the arm will be. Then you don’t even see a trace of your hand sewing. And that’s it! Now you know how to sew a nursing arm pillow sewing tutorial.

If you liked learning how to make a nursing arm pillow, make sure to pin it to your favorite Pinterest board or share it with friends on social media. If you decide to make this simple project on your own, be certain that you take a picture afterward and tag us on social media as we love seeing the fabrics and color choices that people use!
How To Make A Nursing Arm Pillow

Nurse your baby in comfort with this nursing arm pillow. Simple to sew and makes a world of difference. Great gift for new moms!
Tools
Instructions
- Cut one piece of each fabric that is 13 inches by 21 inches.
- Lay the two pieces on top of each other with the right sides touching. Then pin down each of the longest sides. If using Minky fabric as we did be sure to pin well as it tends to slip.
- Using about 1/4 inch seam allowance sew down each of the pinned sides.
- Now pull it into itself so that it is in half and pin the short side raw edges together. You want to make sure you pull it so the right sides stay touching. We will leave about a two-three-inch opening on the inner fabric (the white for ours) to use to turn it right side out and to stuff it.
- Sew all the way around the pinned area using a 1/4 inch seam allowance.
- Through that opening, turn it right side out.
- Now take the stuffing and fill the inside of the tube through that opening. You want to make sure the filling is nice and fluffy. Be careful not to overstuff.
- After you have it filled to your liking, sew the opening shut. Do this with a needle and thread using the ladder stitch.
- Enjoy!
Recommended Products
As an Amazon Associate and member of other affiliate programs, I earn from qualifying purchases.
-
 Brother XM2701 Sewing Machine, Lightweight, Full Featured, 27 Stitches, 6 Included Feet
 -
Rotary Fabric Cutter Set, Audab Self Healing Sewing Mat with 45mm Fabric Rotary Cutter and Replacement Rotary Blades for Sewing Fabric Quilting and Crafting
-
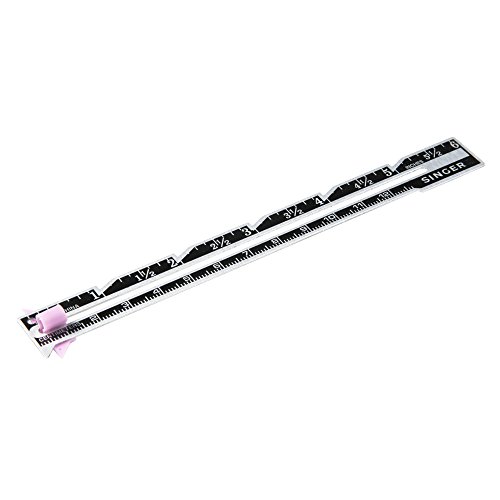
SINGER 00220 Sewing Gauge, 6-Inch
-
LIVINGO Premium Tailor Scissors Heavy Duty Multi-Purpose Titanium Coating Forged Stainless Steel Sewing Fabric Leather Dressmaking Softgrip Shears Professional Crafting (9.5 INCH)