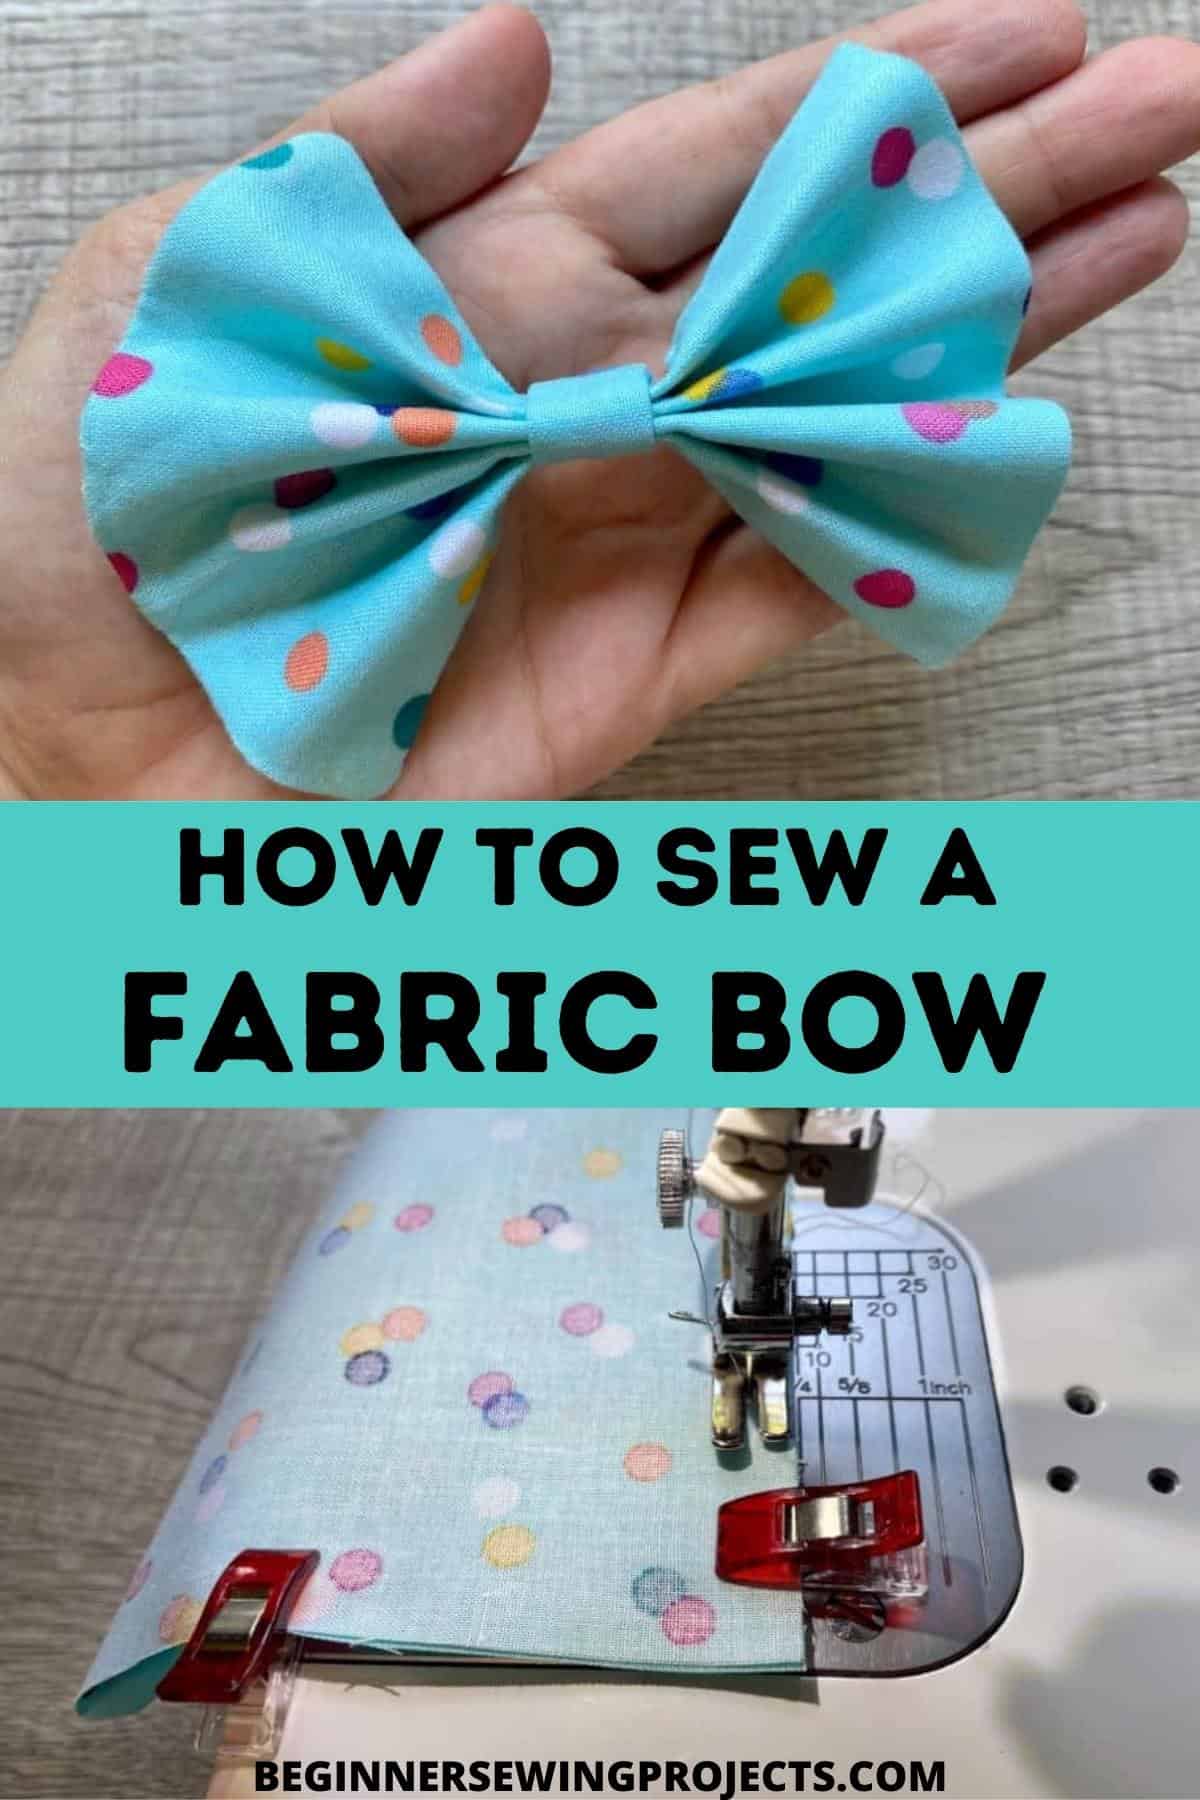
Today on Beginner Sewing Projects, we are going to show you How To Sew A Fabric Bow! DIY fabric bows are quick to sew with a sewing machine and/or by hand. The small pieces make hand sewing fast and easy, so you can make one in every color! Fabric bows are also popular items to make and sell since they are low-cost, simple, and efficient to crank out in big batches. The bows can then be attached to a variety of different items for various uses. You can make headbands for your little ones or hair clips for your older kids. This simple sewing project is perfect for sewists of all skill levels and is a great project to start out on for beginners. It’s always fun to make something for someone else as well, and this little fabric bow would make a fun gift.

So, gather up your supplies and pick out some fun fabric. I went with a light blue poka dot fabric, as I am making this for my little one. You can use solid colors and mix and match to coordinate with different outfits or personalities. Let’s get started making this cute fabric bow!
What You’ll Need:

- Fabric
- Thread
- Rotary Cutter and Cutting Mat Set
- Sewing Clips
- Turning Tool
- Safety Pin
- Hand Sewing Needle
- Thread Snips
Just about any kind of fabric will work for this project from knit to jersey to velvet. The example shows 100% cotton or quilting cotton, which is the easiest to work with for beginners. If you are using a slippery fabric, make sure you use lots of clips to hold the layers in place while sewing. This variegated thread in multiple colors is great for matching a variety of fabrics and patterns without keeping a bunch of thread colors on hand. The other basic sewing tools are listed below in case you need to stock up.
How To Sew A Fabric Bow
The first step in this how to sew a fabric bow tutorial is to wash, dry and press your fabric. This will act as a preshrink for your fabric so that your stitches to not pull out later when you wash this for the first time. This also makes your fabric easier to cut since it is clean and pressed. Then use this easy method to quickly square up fabric.
Step 1
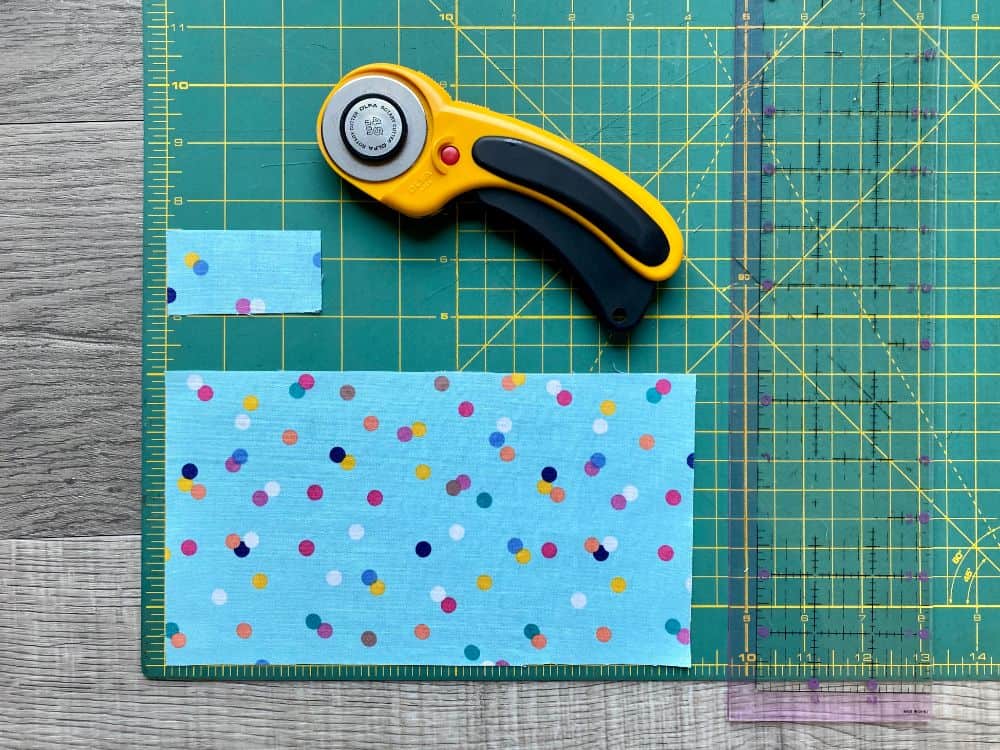
After you have prepped your fabric with the steps above, cut your fabric to the following dimensions using a rotary cutter and cutting mat or sharp fabric shears:
- 9″ x 5″
- 1.5″ x 2.5″
Step 2
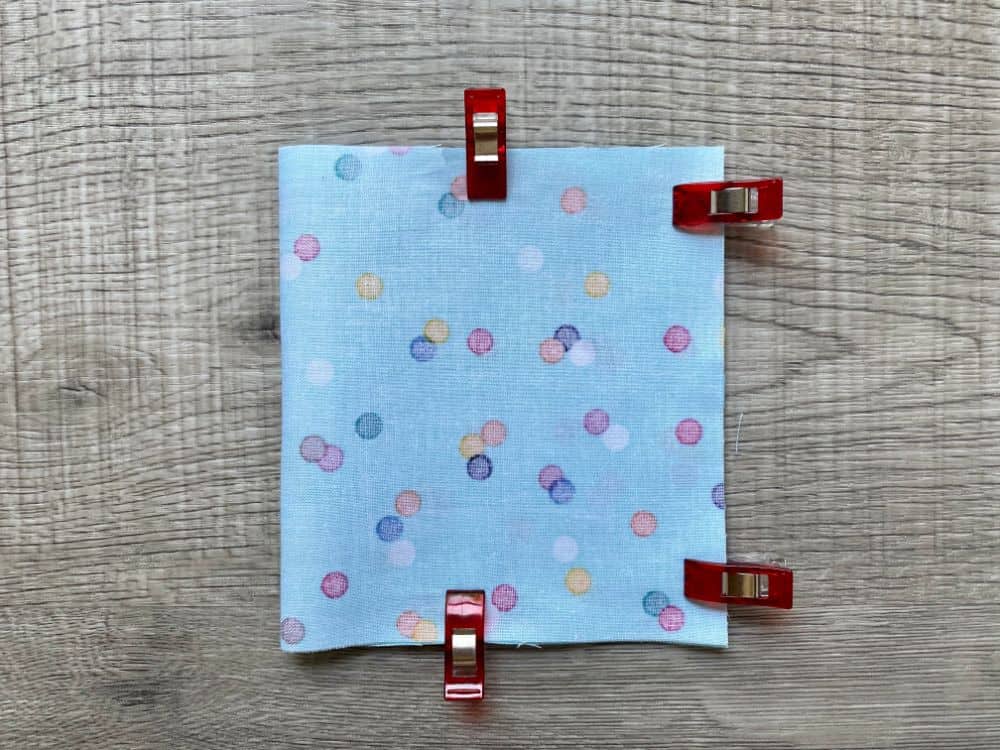
With out fabric cut and and ready, we can get started making our fabric bow. Fold the large rectangle in half to make the short sides meet with right sides together. Use sewing clips or pins to hold it in place.
Step 3
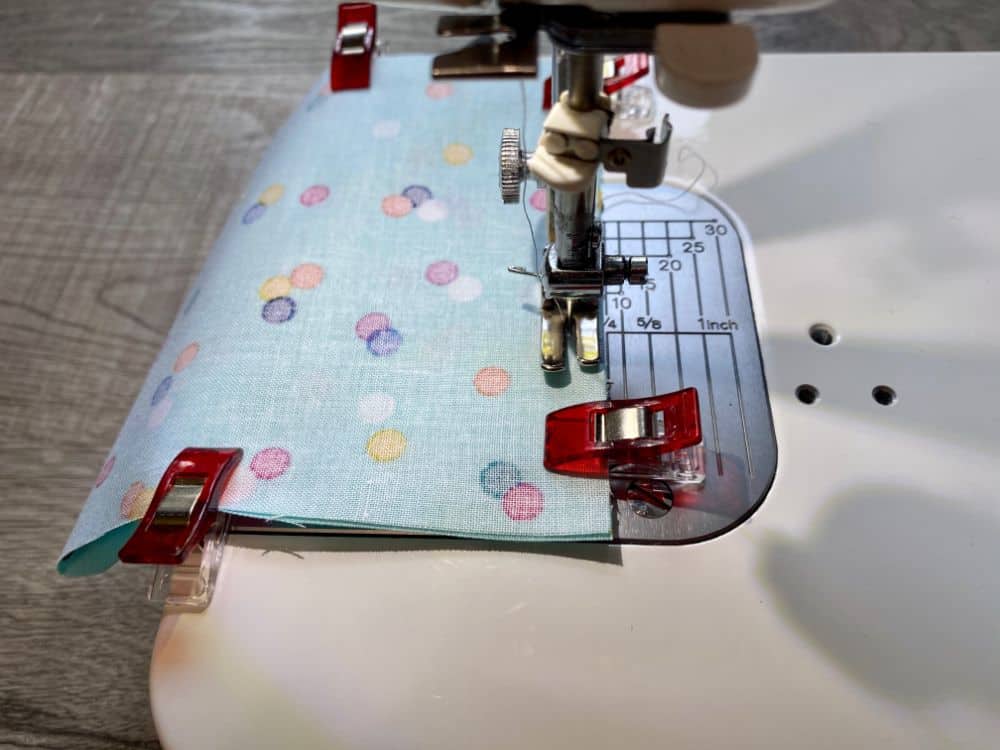
Now on this how to sew a fabric bow sewing tutorial, it’s time to sew! Start sewing about 1″ from the corner where the short sides meet with a 1/4″ seam allowance. Lift your presser foot to turn the corner. Then continue sewing down the side and off the fabric. Repeat these same steps on the opposite side.
Step 4

Make sure to leave about a 2″ opening to turn this in the next step.
Step 5

Pull the fabric through the opening to turn it right side out. Use a turning tool to carefully push out the corners. Press.
Step 6
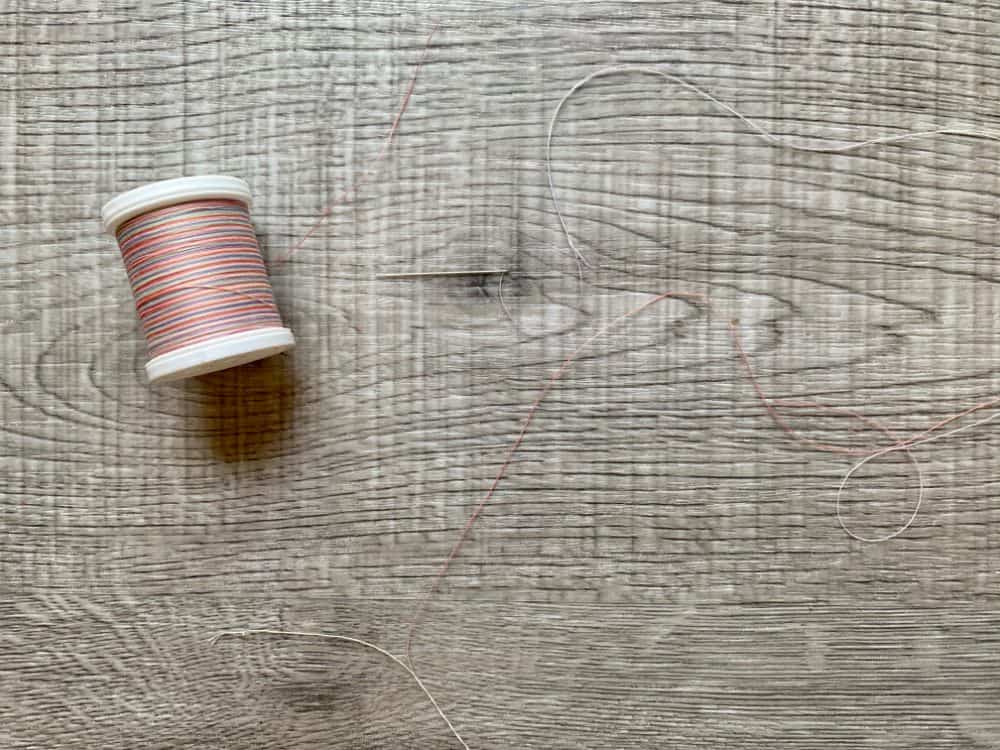
Prepare a needle and thread for hand stitching.
Step 7
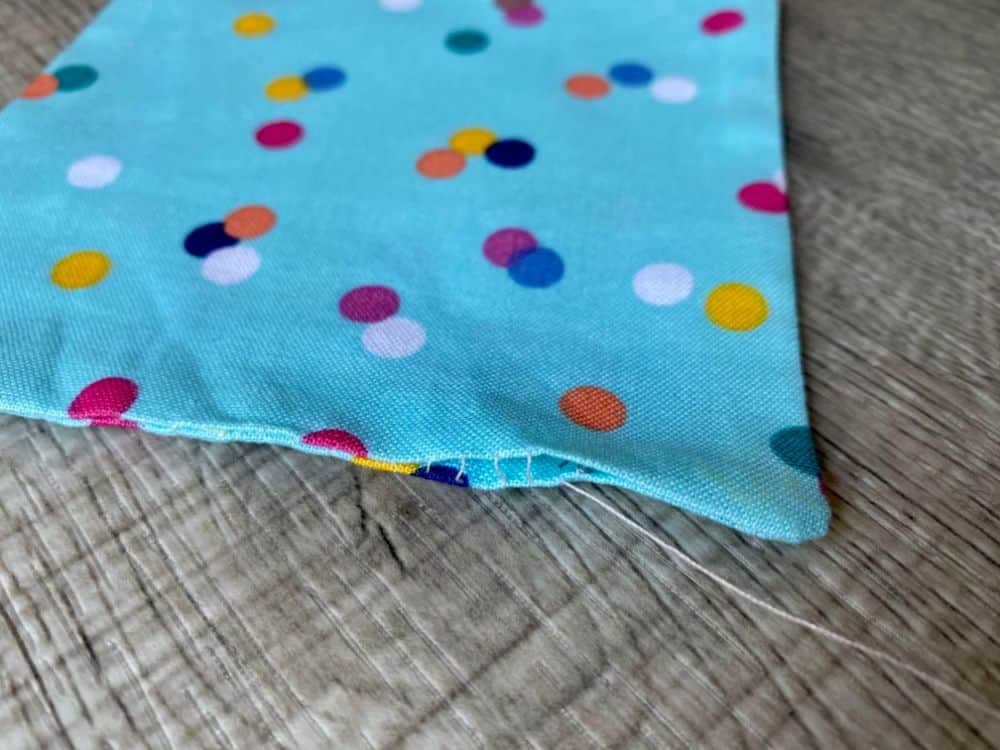
Next on this how to sew a fabric bow sewing tutorial, we will close the opening with an invisible stitch or ladder stitch. For help with these stitches, check out our guide on How to Sew Common Stitches by Hand.
Step 8
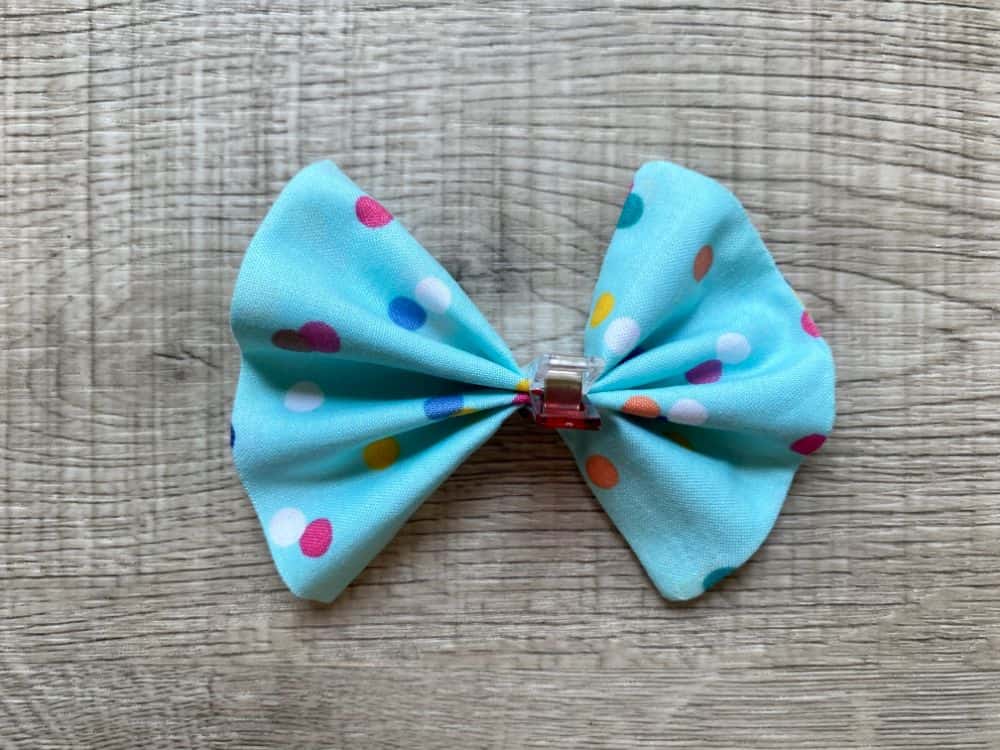
Next, pinch the center of the fabric to form pleats and create the bow shape. You may need to use your fingers to make the pleats look the way you want. Clip to hold the center.
Step 9
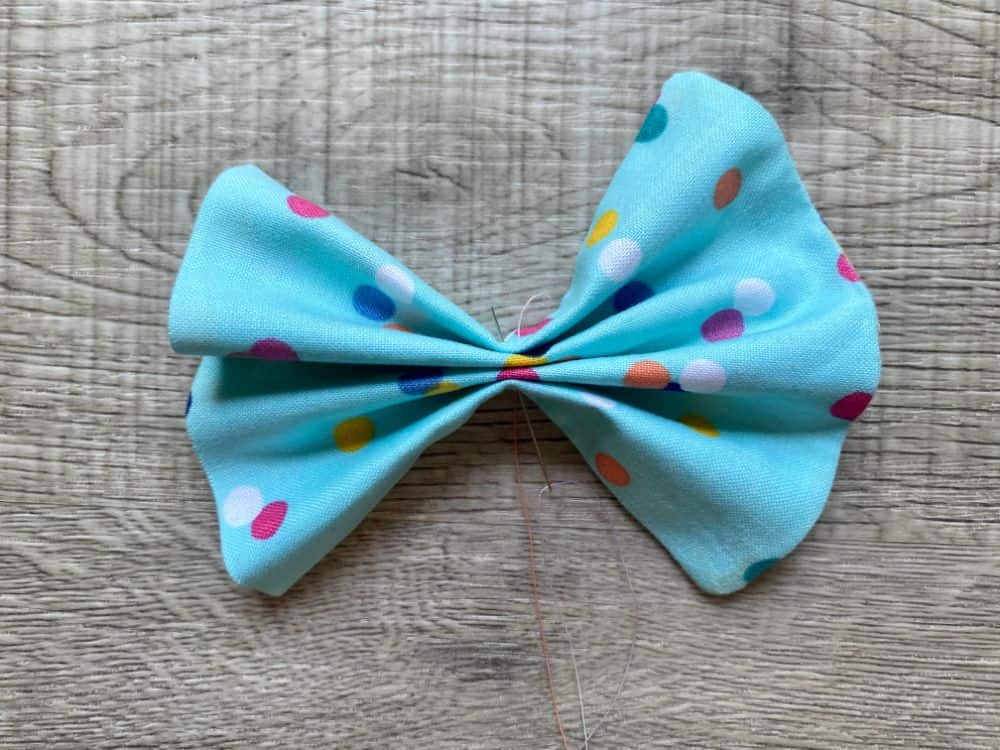
Then thread your needle through the center and stitch once or twice. This will help give our bow its shape.
Step 10
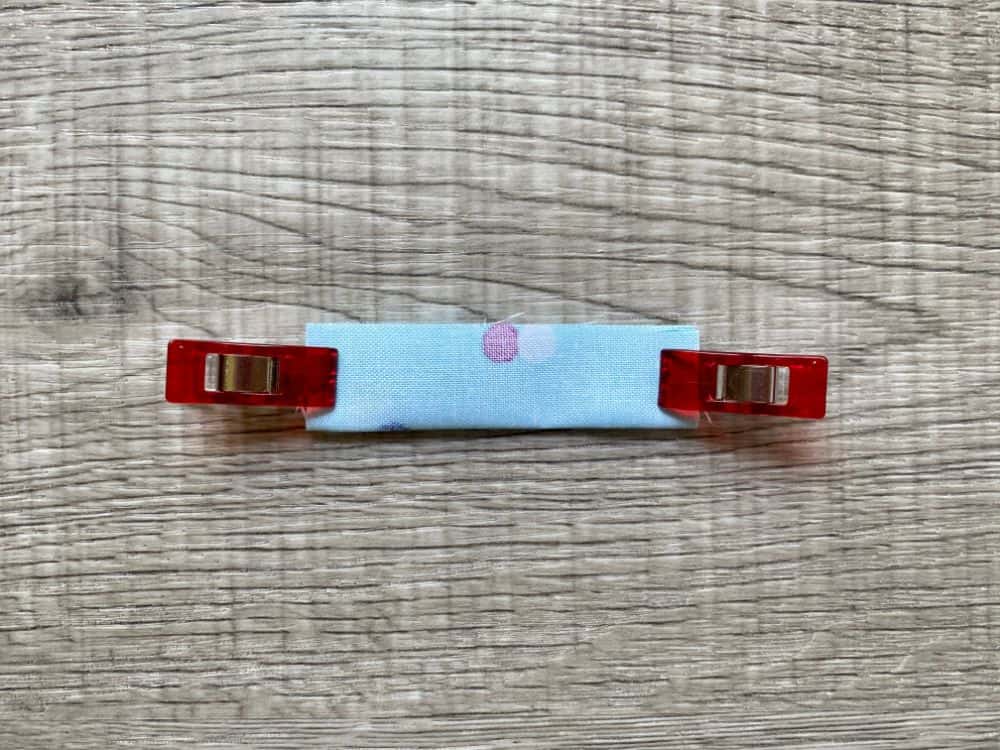
Now on this how to sew a fabric bow tutorial, we will make the middle piece. Take the smaller rectangle that you cut and fold it in half lengthwise with right sides together. Clip to hold.
Step 11
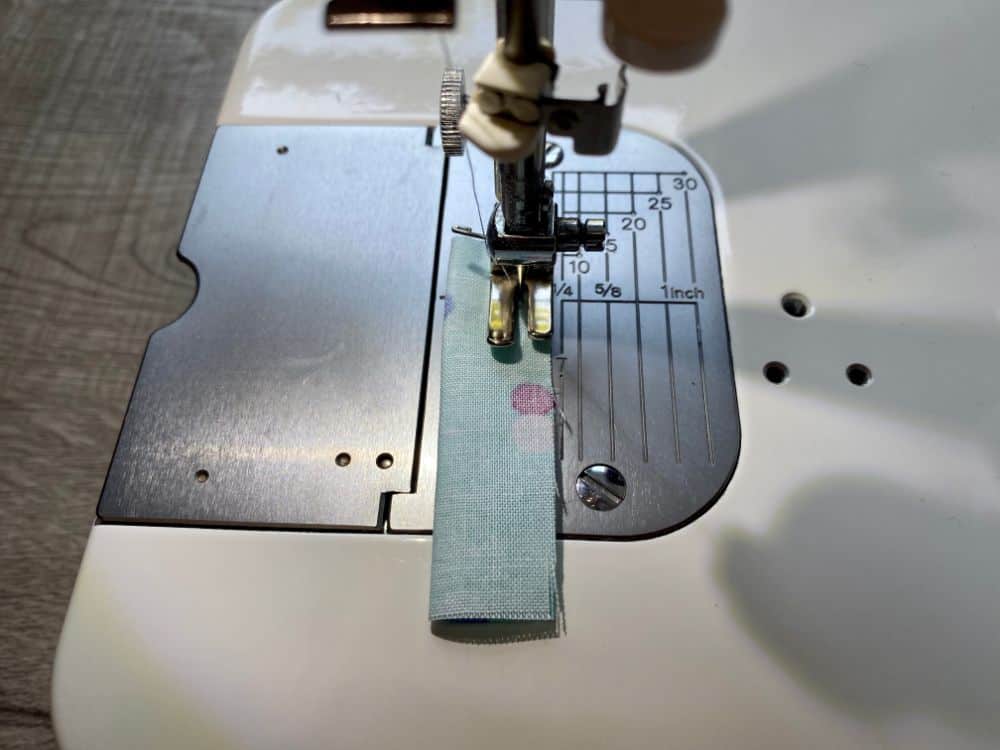
Sew down the longest side with your sewing machine using a 1/4″ seam allowance.
Step 12
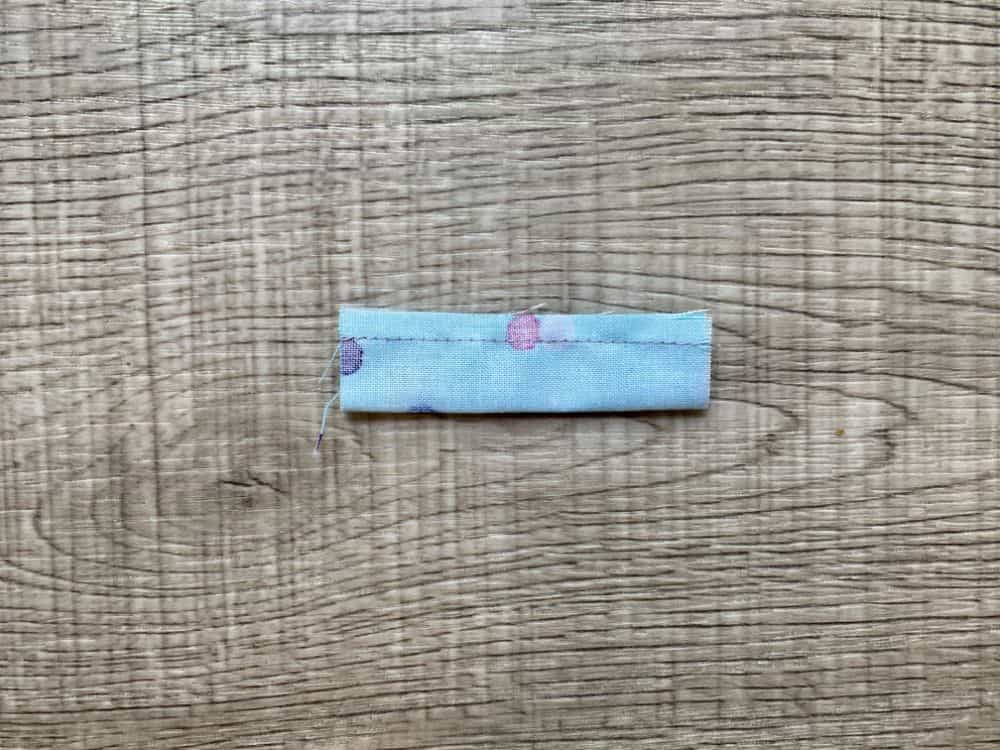
You should have a tiny tube of fabric at this point.
Step 13
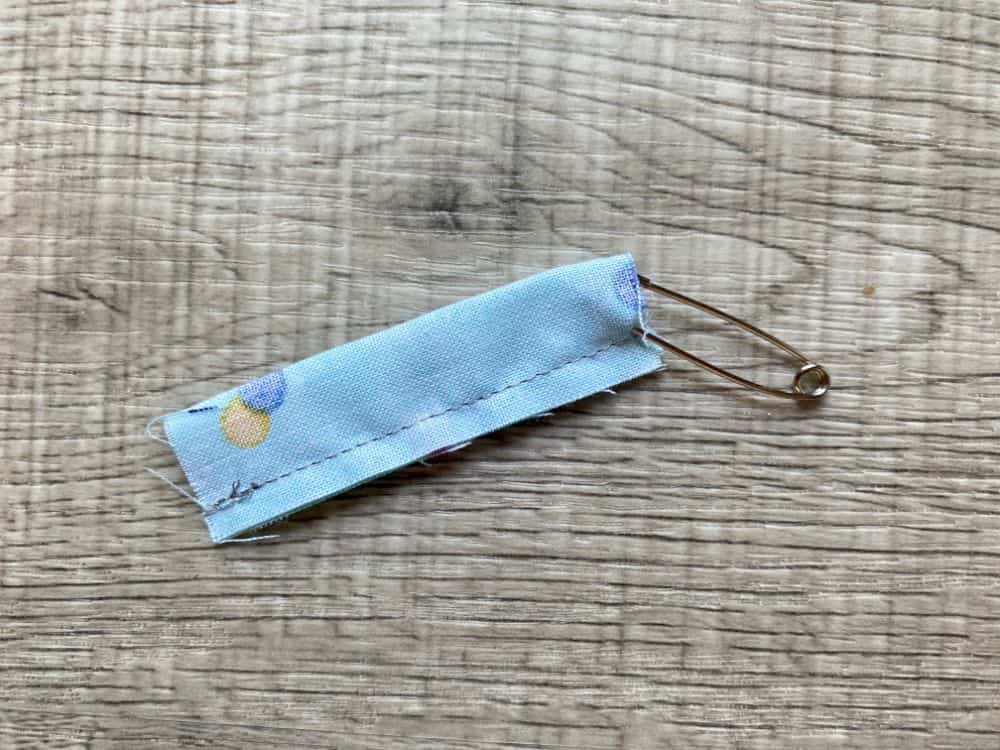
Insert a safety pin just inside the stitches. Then flip it into the tube to turn the fabric right side out.
Step 14
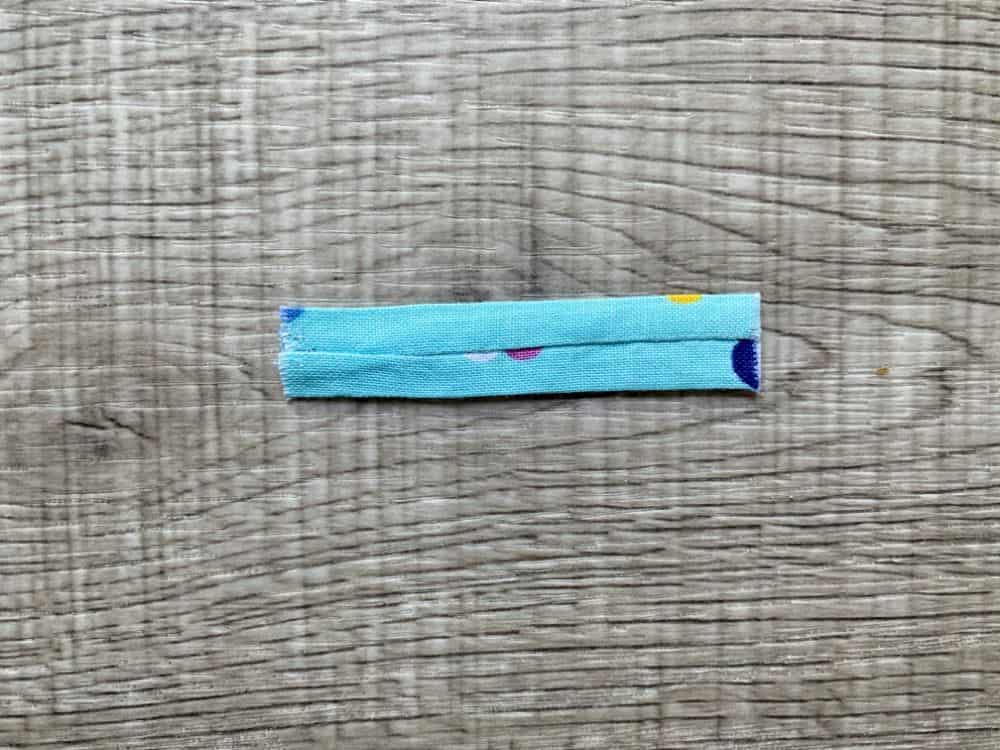
Press the tube with the seam running down the center.
Step 15

Then flip up each end 1/4″ and press.
Step 16
Now for the final step in our how to sew a fabric bow sewing tutorial, wrap the fabric around the center of the bow with the ends tucked under. Hand stitch in place.
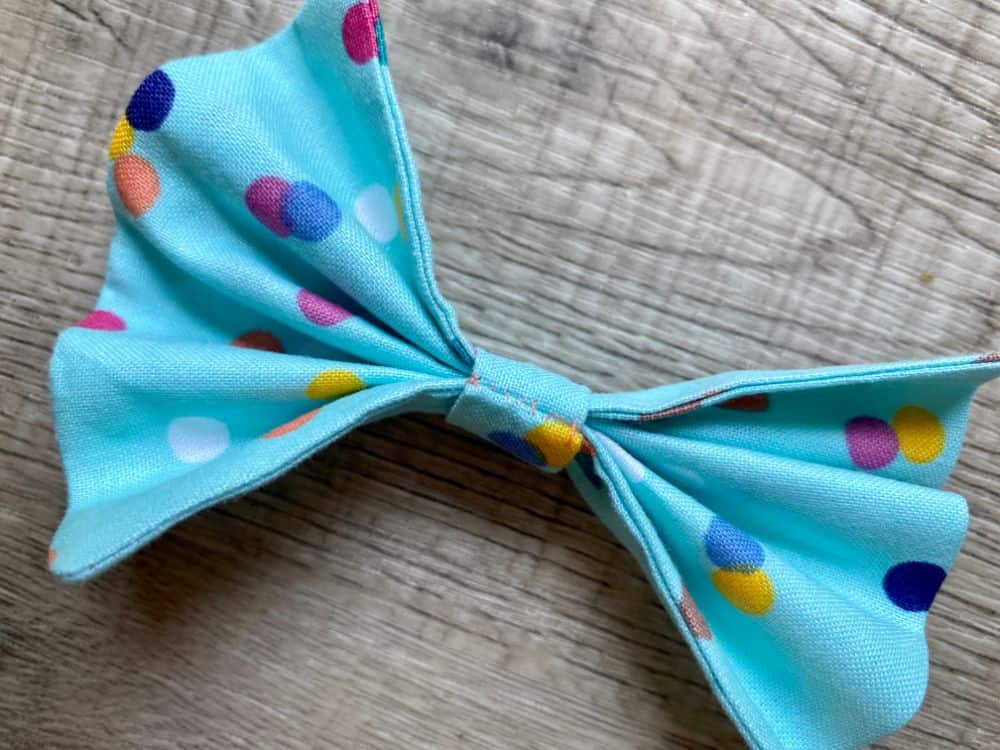
And that’s it! Now you know how to sew a fabric bow. This is super cute and versatile. You can also sew the bow onto a barrette, headband, bow tie, pet collar, etc. at this point. Here are some metal hair clips I suggest, along with some headbands you can add this bow to. Whatever you decide to do, you’ll have a cute bow your little one can wear in style.

Uses for Homemade Bows
- Hair bows (barrettes)
- Headbands
- Bow ties
- Pet Collars
- Pet Leashes
- Wreaths
- Dresses
- Purses
The list could go on forever! It’s fun to adorn just about anything with a fabric bow.
Check out some more sewing projects for beginners listed below.

If you liked learning how to sew a fabric bow, make sure to pin it to your favorite Pinterest board or share it with friends on social media. If you decide to make this simple project on your own, make certain that you take a picture afterward and tag us on social media as we love seeing the fabrics and color choices that people use!
How to Sew a Fabric Bow

How to sew a simple fabric bow that can be used for headbands, barrettes, bow ties, dog collars - anything you want to put them on!
Tools
Instructions
- Cut fabric to: 9" x 5" and 1.5" x 2.5"
- Fold large rectangle in half, right sides together, where short ends meet.
- Clip.
- On short side, sew 1" from corner, turn and continue down long side with 1/4" seam allowance.
- Repeat on opposite side.
- Turn right side out.
- Press.
- Prepare needle and thread.
- Stitch opening closed with ladder stitch.
- Pinch center of fabric to form bow shape.
- Clip.
- Stitch through center to hold.
- Fold small fabric rectangle in half lengthwise, right sides together.
- Clip.
- Sew as close to edge as possible.
- Use a safety pin to turn right side out.
- Press with seam down center.
- Turn ends up 1/4" and press.
- Wrap around center of bow.
- Hand stitch in place.
Notes
While 100% cotton fabric is used in this tutorial, just about any fabric will work for making bows.
Recommended Products
As an Amazon Associate and member of other affiliate programs, I earn from qualifying purchases.
-
SINGER 00564 ProSeries Thread Snips, 5-Inch,Teal
-
Premium Hand Sewing Needles for Sewing Repair, 30-Count Assorted Needles with 2 Threaders, by Meiho Lives
-
WA Portman Rotary Cutter and 12x18 Inch Self Healing Cutting Mat - Comfort Grip Rotary Cutter and Mat Set - 45mm Rotary Fabric Cutter Set with 5 Extra Blades - Rotary Cutter Set for Crafting and More
-
100PCS Sewing Clips for Quilting, Multipurpose Sewing Clips Clamps,Accessories Colors Wonder Clips,Perfect for Sew Binding,Crafts,Paper Work and Hanging Little Things
-
Sulky 733-4126 Blendables Thread for Sewing, 500-Yard, Basic Brights
-
iNee Polka Dot Fat Quarters Quilting Fabric Bundles, Quilting Fabric for Sewing Crafting,18 x22 inches,(Polka Dot)


