Don’t forget your dog this Christmas! Make them their own dog bone keepsake ornament to hang on the tree with this free template and tutorial.
This easy sewing project is easy to customize with your pet’s name and the date. They can be made in any color or pattern to match your tree since you choose the fabric too.
How do You Make Dog Christmas Ornaments?
It only takes a few supplies, our free template, and less than 30 minutes to make your own dog bone Christmas ornament. It’s even faster with a sewing machine, but hand stitching works just as well.
Read on to find out exactly what you need to make this fun craft, step by step instructions to make your own, and even a few more festive crafts for the holidays. You’ll find ideas for yourself and for gifts.
Supplies
How to Make a Dog Bone Christmas Ornament
Begin by downloading the free dog bone template below.
Step 1 – Cut Bone Shape

Cut out the template, and trace it onto the fabric of your choice. Then cut out the fabric shapes. You will need two bone shapes to make one ornament.
Step 2 – Assemble Ornament

Place the bone shapes with right sides together. Clip to hold.
Step 3 – Add Hanger

Cut a 7″ length of twine or ribbon, and fold it in half.
Step 4 – Prepare to Sew
Align the open ends of the twine or ribbon at the top center of the bone. Clip it in place, and fold the remaining twine/ribbon onto itself so that it stays in the center of the bone.
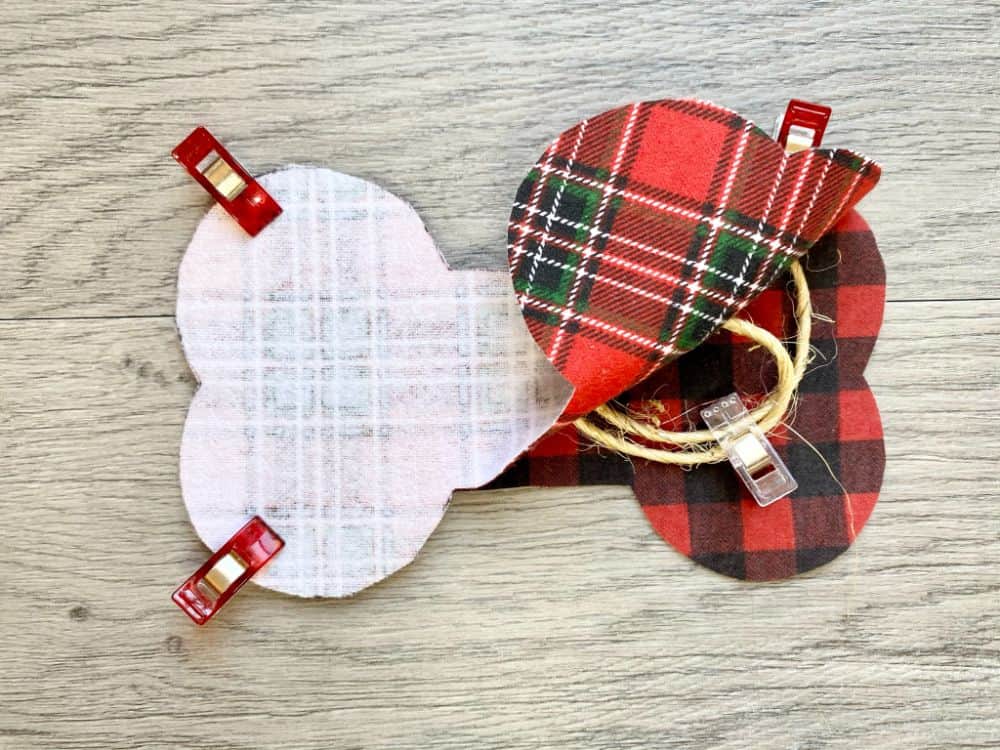
Adding another clip can help hold it away from the edges where you will be sewing in the next step.
Step 5 – Sew Around Bone
Sew around the perimeter of the dog bone with a 1/2″ seam allowance. Leave the straight space at the bottom of the bone open for stuffing.
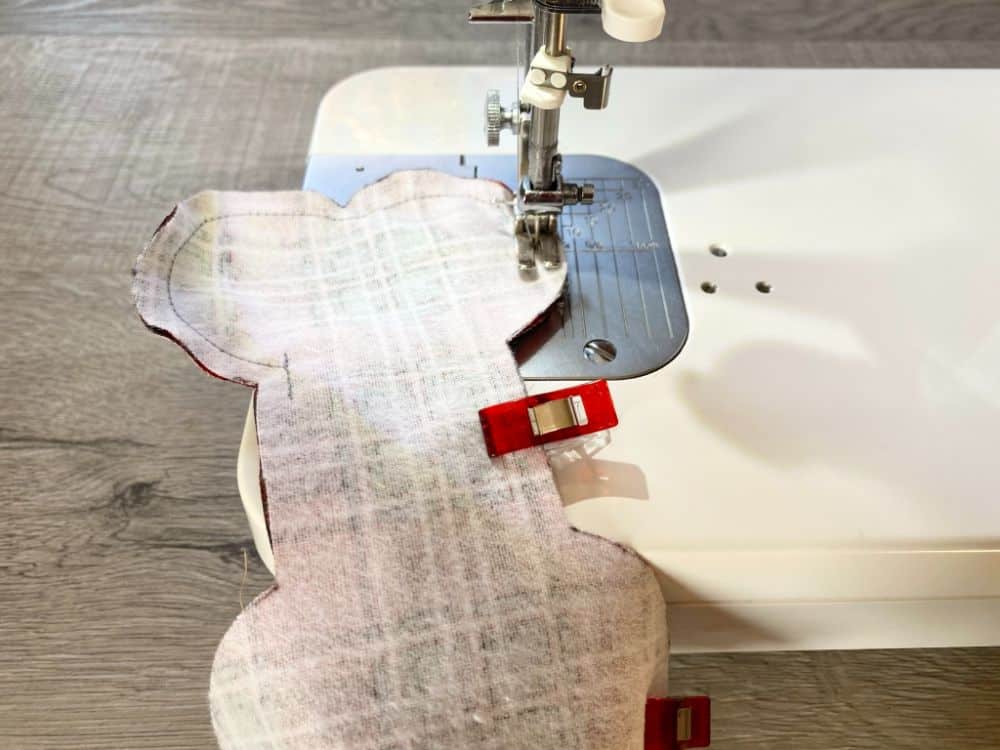
Because you are sewing around curves, you may need to stop and raise your presser foot several times as you move around the bone. Stitch slowly for the best curved result.
You can also sew the pieces together by hand. It won’t take much time at all for such a small project.
Step 6 – Press

After sewing, press the bone flat with an iron.
Step 7 – Turn Right Side Out

Now turn the bone right side out by reaching through the opening and pulling the twine or ribbon.
Step 8 – Press Out Curves

Use a turning tool or chopstick to gently press out the curves. Take care not to poke through the fabric.
Step 9 – Stuff It

Insert fiber fill into the opening to stuff the bone. You can use the turning tool or chopstick to press stuffing into the curves.
Step 10 – Stitch Closed

Use a hand needle and thread to stitch the opening closed with an invisible stitch, also known as a ladder stitch.
Step 11 – Decorate

Finally, you can decorate your dog bone ornament with more ribbon tied into a bow, pieces of garland, a tag for your dog’s name, etc. Get creative!
Handmade Christmas Projects
Check out these other lovely handmade Christmas projects from my friends below.


Christmas Tree Table Runner


Diy Christmas Gift Tags - Free Sewing Templates

How to Make a Snowflake Christmas Pillow

Patchwork Quilt Christmas Stocking


Stunning Embroidery Hoop Christmas Ornaments

DIY Quilting Tools Sewing Ornament
Don’t forget to pin this project for later too!

DIY Dog Bone Christmas Ornament

How to make a dog bone shaped Christmas ornament for man's best friend.
Materials
Tools
Instructions
- Download and print free template
- Cut out template and trace on fabric of choice
- Cut dog bone shapes from fabric - two for each ornament
- Place dog bone shapes on top of each other with right sides together
- Clip to hold
- Cut 7" length of twine
- Fold twine into loop
- Place loop between fabric layers with ends at top center of bone
- Clip to hold
- Fold remaining twine into center of bone
- Clip to hold
- Sew around perimeter of bone with 1/2" seam allowance, leaving 2" opening at bottom center
- Turn right side out
- Stuff bone with Poly-fil
- Hand stitch to close with ladder stitch
Notes
Add additional ribbon bows, holly, or tag with your pet's name on it to personalize each ornament
Recommended Products
As an Amazon Associate and member of other affiliate programs, I earn from qualifying purchases.
-
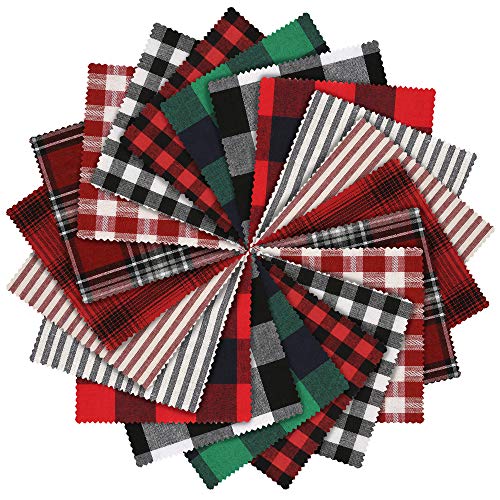
 Caydo 20 Pieces Plaid Fabric Christmas Lodge Charm Pack, 5.9 inch 10 Prints Polyester Cotton Homespun Fabric Squares
 -
Fairfield Poly Fil Premium Fiber Fill, 32-Ounce
-
Shintop 328 Feet Natural Jute Twine Best Industrial Packing Materials Heavy Duty Natural Jute Twine for Arts and Crafts and Gardening Applications (328 Feet Twine).
-
3-Pack -2 BLACK & 1 WHITE - Coats & Clark Dual Duty All-Purpose Thread - 2 Black plus 1 White Spools, 400 Yard Spool each.
-
100PCS Sewing Clips for Quilting, Multipurpose Sewing Clips Clamps,Accessories Colors Wonder Clips,Perfect for Sew Binding,Crafts,Paper Work and Hanging Little Things
-
SINGER 00276 Assorted Hand Needles in Compact, 25-Count,Assorted 25/Pkg